10 Small Room Decoration Ideas Minecraft
Designing compact interior spaces in Minecraft requires balancing functional block placement with visual aesthetics. In small rooms, full-sized furniture blocks can quickly clutter the area, making interior navigation difficult. Learning how to scale decor correctly allows builders to transform tiny bedrooms, cozy survival hubs, and compact storage quarters into detailed living areas. This guide provides practical techniques for using trapdoors, banners, slabs, armor stands, and lighting elements to maximize spatial efficiency. By applying smart organization strategies and modern design principles, builders can create realistic room layouts within tight block constraints. Readers will gain actionable inspiration for layering textures, creating custom mini-furniture, and optimizing room flow in survival or creative mode. Applying these creative project concepts ensures that even the smallest four-by-four room feels complete, immersive, and visually engaging.
Why Compact Interior Design Is Popular in Minecraft
Designing small rooms has become a major trend across Pinterest ideas and building communities due to its high practical value and creative appeal. Large builds often leave players with massive empty interiors that are challenging to detail effectively. In contrast, small room decoration focuses on micro-detailing, where every single block serves a distinct visual or functional purpose. This approach offers high accessibility for beginners because it requires fewer raw materials and less time to complete than grand architectural projects. Mastering small interior layouts provides immediate aesthetic satisfaction while teaching essential design concepts like scale, color balance, and spatial planning. Additionally, compact designs align perfectly with survival gameplay, where keeping essential crafting stations, beds, and storage units consolidated within a secure, easy-to-navigate footprint is highly advantageous.
Materials and Preparation Steps for Interior Styling
Proper planning and material gathering ensure a smooth interior build process. Before placing decorative elements, select a cohesive color palette consisting of two primary building blocks, one accent block, and a matching wood type. Essential construction materials for compact interiors include wooden trapdoors, stairs, slabs, glass panes, banners, item frames, and carpet tiles. Useful tools include a stonecutter for crafting precise stone block variants and shears for collecting leaf blocks. Begin by clearing the interior space and establishing a clear four-by-four or five-by-five floor footprint with a minimum ceiling height of three blocks. Ensure the wall construction is finished before adding furniture so structural boundaries are defined. Planning lighting placement early prevents unwanted mob spawning while allowing light sources to integrate seamlessly into walls, floors, or ceiling structures.
Recessed Wall Desk with Floating Shelving Execution Process
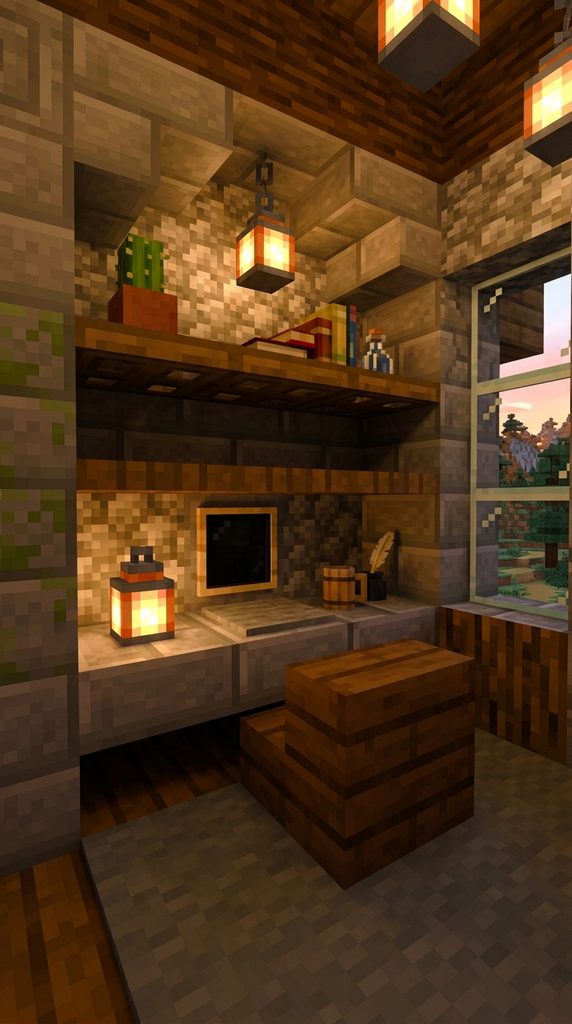
Creating a functional workstation within a small space requires utilizing wall depth to conserve floor area. Start by carving a two-block-wide, one-block-deep niche into the room’s main wall. Place two polished stone slabs inside the lower section of the recess to serve as the desk surface. Position an upside-down wooden stair block directly in front of the desk to act as a compact chair. Install two wooden trapdoors on the upper boundary of the niche, flipping them upward to create floating display shelves. Place a heavy weighted pressure plate on the desk surface to represent a keyboard, and mount an item frame with a black stained glass pane above it to simulate a wall-mounted monitor. Finish the setup by placing a flower pot with a small cactus on the top shelf for a touch of greenery, keeping the surrounding floor space entirely open and functional.
Loft Bed with Integrated Storage Hub Setup Method
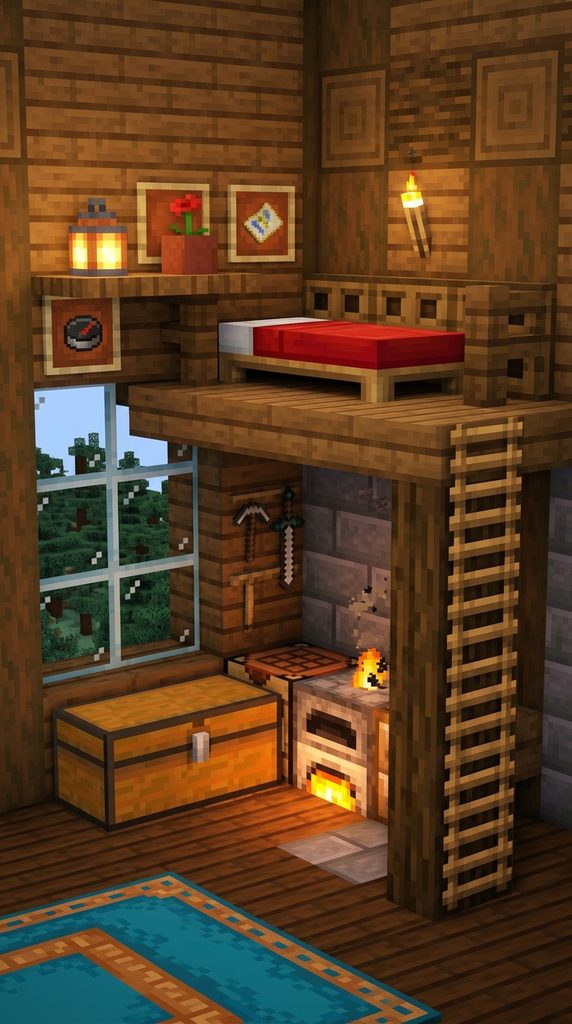
Elevating the sleeping area is an effective spatial strategy that opens up valuable floor real estate underneath. Construct a basic wooden fence pillar two blocks high against a corner wall to support the loft platform. Place two wooden slabs extending from the wall to the pillar, creating an elevated platform, and place a colored bed on top. Attach spruce trapdoors around the edges of the bed platform to act as protective safety railings. Beneath the elevated bed, place a double chest, a crafting table, and a furnace side-by-side to form a compact utility station. Position a wooden ladder along the side of the support pillar to allow easy access to the bed platform. This vertical arrangement combines essential survival furniture into a single two-block footprint while maintaining a clean, organized aesthetic across the main floor area.
Recessed Aquarium Accent Wall How to Create
Incorporating aquatic elements into a small room adds movement and vibrant color without encroaching on interior walking paths. Begin by removing a three-block-wide by two-block-high section of the exterior wall. Replace the back of this cavity with dark prismarine or terracotta blocks to create visual depth. Fill the bottom of the recessed space with sand, sea pickles for soft natural lighting, and live coral blocks. Place a water bucket inside to submerge the area completely, then seal the front opening using clear glass panes. Frame the outer edges of the glass window with wooden trapdoors to give the aquarium a finished, built-in cabinet appearance. The transparent glass allows light to filter into the room while adding a dynamic, living decoration piece that remains completely flush with the surrounding wall surface.
Framed Wardrobe with Custom Fabric Doors Step-by-Step Guide
A built-in closet provides effective visual organization while hiding functional storage blocks. Hollow out a two-block-wide by two-block-high wall niche and place two armor stands inside, equipping them with dyed leather armor pieces to represent clothing. Place two upside-down wooden stairs at the top of the niche to create a finished upper crown molding. To form the wardrobe doors, craft two full-length banners matching the room’s primary accent color and place them on the outer wall blocks directly in front of the niche. Alternatively, attach wooden trapdoors to the sides of the opening, swinging them closed to conceal the interior contents. This simple construction method delivers realistic home decor styling while keeping armor sets readily accessible for gameplay use, making it ideal for compact bedrooms.
Embedded Floor Window and Planter Box How to Make
Maximizing natural light in a small room prevents the space from feeling enclosed or dark. Dig out a two-block-long trough along the floor directly beneath an exterior window. Fill the bottom of the trough with moss blocks or coarse dirt, then place flowering azalea bushes or sweet berry bushes inside the trench. Cover the top of the open trough using green-stained glass blocks level with the surrounding floor to create an embedded garden display. Light from the wall window shines down through the glass floor, highlighting the foliage below while keeping the floor completely smooth and walkable. Frame the surrounding window with wooden trapdoors on the sides to serve as rustic window shutters, adding depth to the wall texture without extending far into the room’s interior space.

Compact Reading Nook with Sunken Seating Step-by-Step Guide
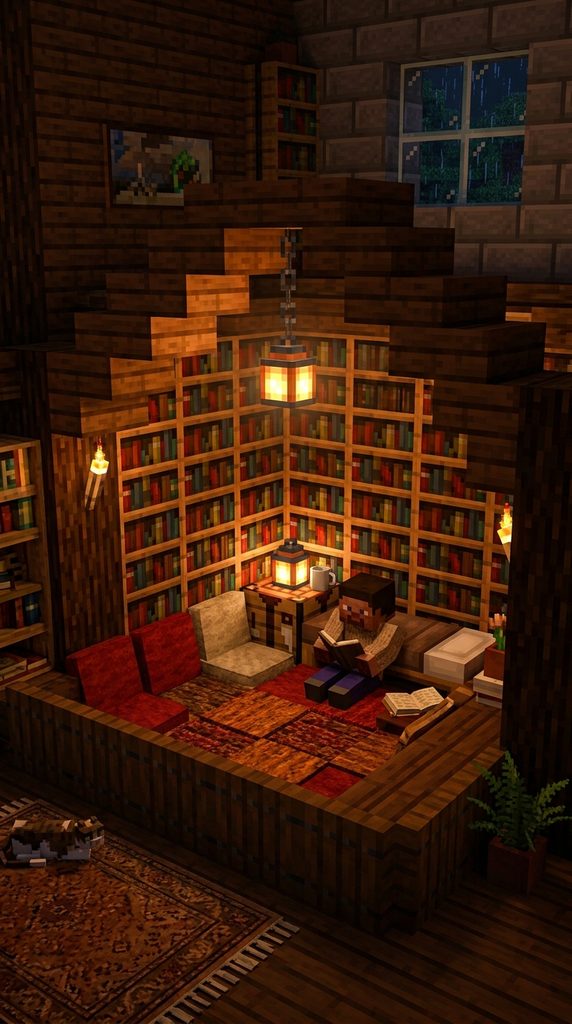
A dedicated reading nook creates a cozy micro-zone within a small interior layout. Remove a two-block section of the floor near a corner and replace it with polished wood slabs placed in the lower half of the block space to create a slightly sunken seating area. Place two colored carpet tiles over the slabs for comfort. Flank the left and right walls of the nook with bookshelf blocks stacked two blocks high. Install a single upside-down stair block above the nook to form a recessed archway overhead. Mount a wall lantern inside the archway to illuminate the reading space with warm ambient light. This sunken design visually separates the cozy nook from the main room floor without requiring solid partition walls that would otherwise restrict sightlines and movement.

Suspended Canopy Plant Display Setup Method
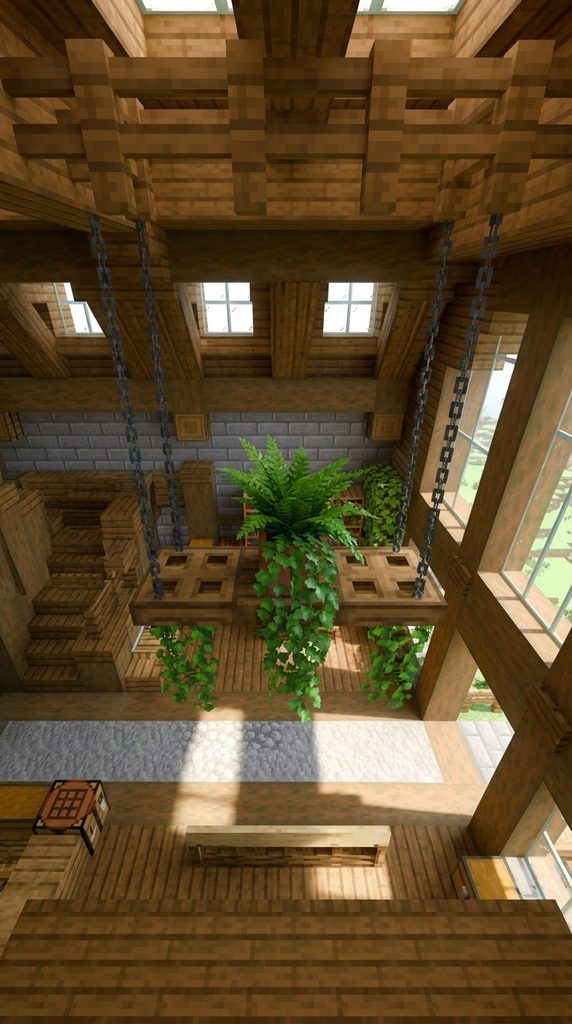
Using vertical space near the ceiling allows builders to add natural decorations without taking up valuable floor space. Place two wooden fence posts extending horizontally from the upper corner wall near the ceiling. Hang iron chains down from each fence post, attaching a spruce trapdoor horizontally to the bottom of the chains to form a floating hanging shelf. Position a flower pot containing trailing ivy or a fern on top of the suspended trapdoor shelf. Surround the shelf edges with additional vertical trapdoors to secure the planter visually. The greenery drapes naturally down into the room, introducing organic textures and color variation. This overhead installation draws the viewer’s eye upward, making compact room ceilings feel higher while keeping ground-level walkways completely clear of obstruction.

Flush Wall-Mounted Vanity Unit Execution Process
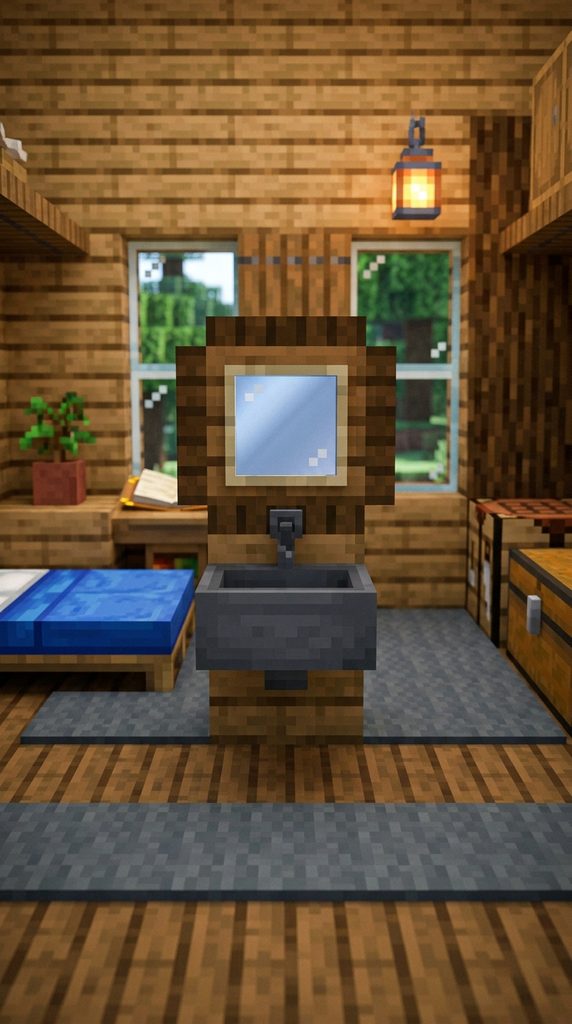
A compact vanity unit adds realistic interior detailing while maintaining a slim physical profile. Choose an open section of wall and place a single wooden slab at waist height to serve as the vanity counter. Mount an item frame directly on the wall above the slab, placing a light blue stained glass pane inside to represent a wall mirror. Surround the item frame with wooden trapdoors to create a decorative framed border around the mirror. On top of the slab counter, place a tripwire hook to act as a realistic water faucet, and position a white candle next to it for accent lighting. Place a small wooden button on the wall underneath the slab to simulate a cabinet drawer handle. This streamlined setup provides high visual detail while protruding only one block into the room.
Corner Fireplace with Chimney Flue How to Create
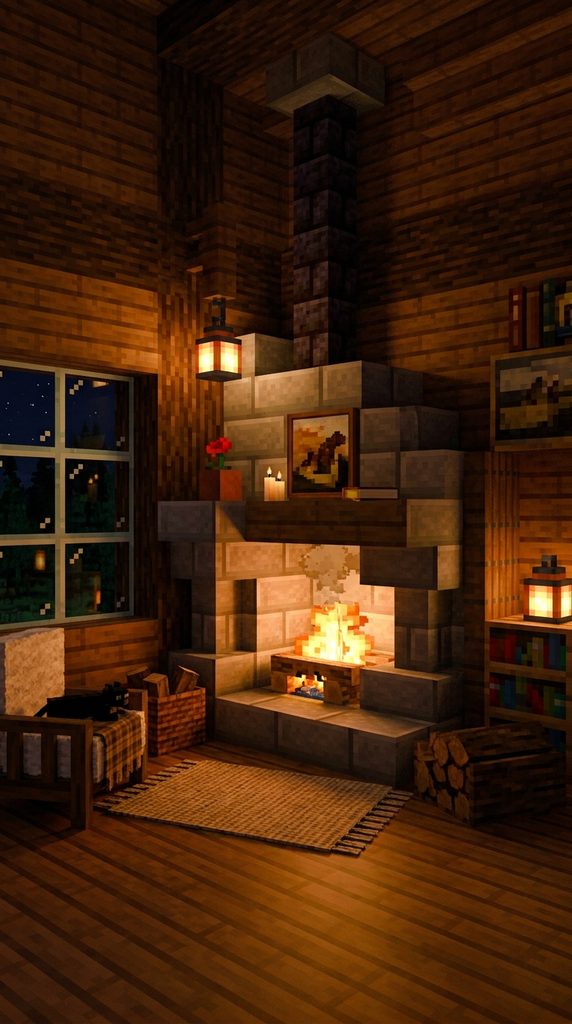
Adding a fireplace to a small room provides warm lighting and a clear visual center without consuming central floor space. Clear out a three-block-tall corner section of the room. Place a single campfire block in the floor corner, surrounding its base with polished basalt or stone bricks to prevent fire spread. Place a nether brick wall block directly above the campfire to represent a narrow exhaust pipe or chimney flue. Enclose the sides of the fireplace with stone brick stairs facing inward, forming a compact protective mantel piece. Extinguish the fire with a splash water bottle if smoke density becomes too heavy, or leave it exposed for ambient warmth. The light generated by the campfire illuminates the entire room, eliminating the need for standalone torches or bulky floor lamps.
Hidden Under-Floor Storage Vault How to Make
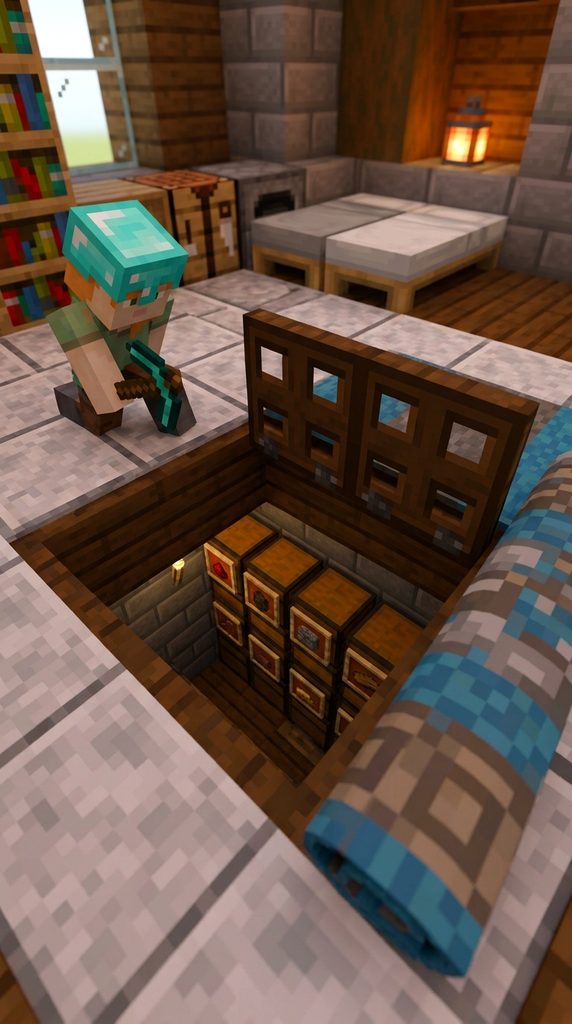
Maintaining clean interior visuals in a small room often requires concealing primary storage containers. Dig out a four-block trench in the center of the room floor, sinking it two blocks deep. Line the bottom of the pit with double chests placed side-by-side to maximize item capacity. Install piston mechanisms or simply place wooden trapdoors directly over the top of the chests flush with the floor surface. Cover the trapdoors with a large decorative carpet that coordinates with the room’s color scheme. Players can easily access the underlying chest storage by interacting through the carpet or flipping open the floor trapdoors. This hidden vault system removes visual clutter from the walls and corners, leaving the above-ground interior looking open, spacious, and meticulously organized.
Common Beginner Mistakes and How to Avoid Them
Decorating small rooms in Minecraft often leads to common spatial errors that disrupt both functionality and aesthetic appeal. Overcrowding the floor space with full-sized solid blocks is the most frequent mistake; using full blocks reduces walking area and makes small interiors feel claustrophobic. Avoid this by using slabs, stairs, trapdoors, and banners to create slim furniture profiles. Another common error is using bright, harsh torch placement directly on walls, which ruins the atmosphere and creates visual clutter. Instead, hide light sources beneath carpets, behind furniture, or inside ceiling structures using glowstone, sea lanterns, or redstone lamps. Finally, mixing too many contrasting block types in a tight space creates chaotic visuals. Stick to a strict palette of two primary building materials and one accent color to maintain visual harmony across the entire room.
Practical Tips for Better Results
Achieving high-quality interior details in compact rooms relies on smart block manipulation and layering techniques. Utilize trapdoors extensively, as they function as thin partition walls, shelving units, chair backs, and decorative paneling without occupying full block volumes. Experiment with depth by carving one-block recesses into walls rather than building outward into the room. Integrate dual-purpose furniture wherever possible, such as placing beds directly on top of storage chests or embedding lighting behind bookshelves. When adding foliage, choose potted plants or leaf blocks trimmed with trapdoors to keep greenery controlled and proportional to the room’s scale. Regularly test player navigation through the space to ensure that all doors, chests, beds, and crafting stations remain fully accessible without obstruction, maintaining a balance between form and function.
Styling, Presentation, or Organization Ideas
Proper organization and presentation transform a simple block layout into a polished aesthetic room. Use colored carpets to visually define different functional zones, such as placing a red carpet beneath a reading desk and a neutral rug near the bed area. Group related items together logically; keep brewing stands and cauldron vanity units near water elements, while pairing crafting tables directly with raw material storage chests. Maintain consistent symmetry on main focal walls, such as balancing a central window with matching wall sconces or shelving units on either side. Incorporate subtle color coordination by matching banner curtains with bed sheet colors and floor rugs. Applying these presentation strategies establishes a cohesive visual flow, making small interior builds look intentionally planned, balanced, and visually refined from every viewing angle.
Budget or Time Planning
Planning resource collection and construction time ensures efficient completion of interior decoration projects. For survival mode players, gathering materials for small room decor requires minimal resource expenditure compared to large structural builds. Collect basic wood logs, cobblestone, iron for shears, and wool for carpets during early gameplay phases. Advanced decorative items like armor stands, sea pickles, and quartz slabs can be gathered during mid-game exploration. A standard compact room layout can be fully decorated within thirty to forty-five minutes once all raw materials are assembled in your inventory. To save time, craft structural components like trapdoors, slabs, and stairs in bulk using a stonecutter or crafting bench before starting the interior detailing process. Pre-planning your block palette speeds up execution and prevents mid-build interruptions.
Creative Expansion and Advanced Inspiration
Once you master basic small room decoration, explore advanced building techniques to further elevate your interior builds. Experiment with armor stand manipulation using custom poses or invisibility effects to create hyper-detailed micro-props like custom coffee cups, small lamps, or realistic books resting on tables. Integrate basic redstone mechanisms, such as hidden piston doors or pop-up storage systems that activate via wall buttons, saving floor space while adding interactive functionality. Consider expanding the room’s perceived size by incorporating large glass wall sections that overlook outdoor gardens, water features, or scenic landscapes. Rotating seasonal decor—such as changing carpet colors, plant types, and wall banners—keeps your interior spaces fresh and engaging over time, offering endless inspiration for future creative projects.