10 Cottagecore Hand-Painted & Decoupage Vintage Teacup Bird Feeders
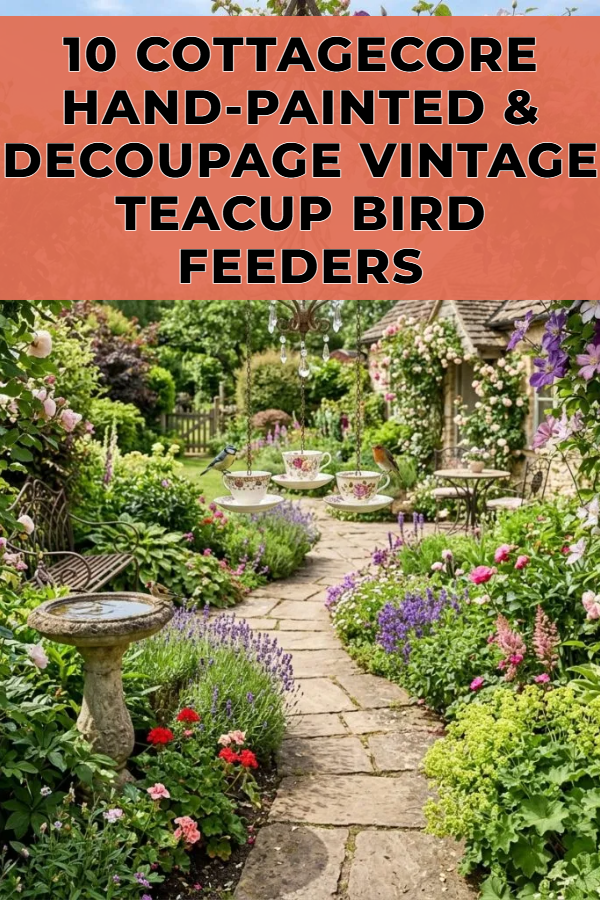
Decorating outdoor spaces with repurposed vintage tableware combines artistic crafting with practical wildlife conservation. Creating cottagecore hand-painted and decoupage vintage teacup bird feeders allows makers to convert second-hand porcelain into functional outdoor art. Readers will discover how to prepare delicate ceramic surfaces, apply sealed floral decoupage paper, execute hand-painted motifs, and securely mount finished pieces in outdoor settings. Learning this step by step craft process gives homeowners a reliable method to create eye-catching garden features that attract wild birds to patios and flower beds. This project provides a valuable creative outlet for craft enthusiasts looking to add rustic charm to their yards while using simple household supplies. Understanding moisture sealing, surface priming, and balanced hanging mechanics ensures that each handmade feeder remains durable and visually appealing through changing weather conditions.
Why This Idea Is Trending or Useful
Cottagecore aesthetic crafts are experiencing widespread popularity across online visual platforms due to their emphasis on vintage charm, nature-inspired patterns, and sustainable upcycling. Hand-painted and decoupage teacup bird feeders provide high practical value by transforming thrifted ceramic cups into dedicated feeding stations for garden wildlife. The compact vertical design allows these feeders to fit seamlessly into expansive backyards, small balcony garden setups, or shaded porch corners. Beginner friendly techniques make this creative project accessible to individuals without prior woodworking or ceramic experience. Beyond aesthetic appeal, providing clean seed containers supports local songbird populations throughout the year. Blending soft botanical illustrations with delicate porcelain textures satisfies current home decor trends while offering a rewarding, low-cost crafting activity for outdoor space organization and embellishment.
Materials and Preparation
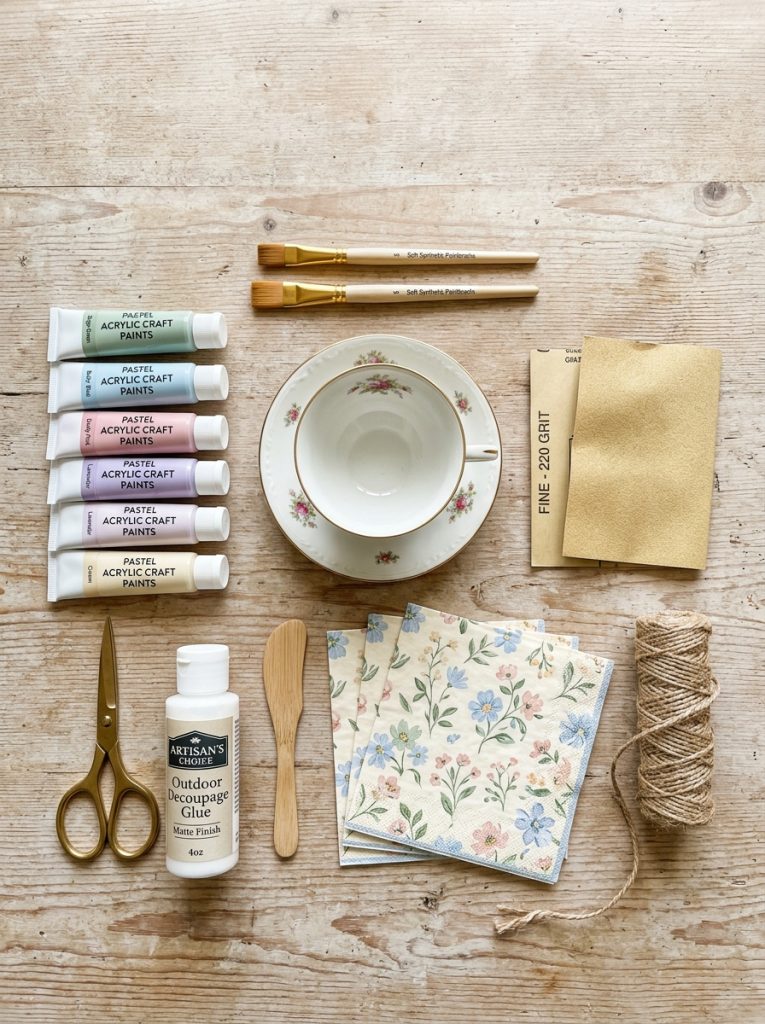
Proper preparation guarantees that artistic decoupage and paint applications adhere correctly to smooth porcelain surfaces. Essential materials include vintage ceramic teacups and matching saucers, acrylic craft paints, decoupage glue, outdoor varnish, fine-grit sandpaper, and weather-resistant mounting hardware or jute twine. Tools required for assembly comprise soft synthetic paintbrushes, small foam sponges, a power drill equipped with a diamond core bit, and safety goggles. Begin by washing all porcelain pieces in warm, soapy water to remove grease and dust, allowing them to dry completely. Lightly scuff the outer ceramic surfaces with fine-grit sandpaper to create micro-grooves that improve paint and glue adhesion. Plan the artistic design on paper before painting, deciding whether to emphasize botanical motifs, pastel color blocks, or intricate vintage paper cutouts on each cup.
Main Ideas Section
Idea 1: Botanical Pressed-Flower Decoupage Cup and Saucer
Execution Process
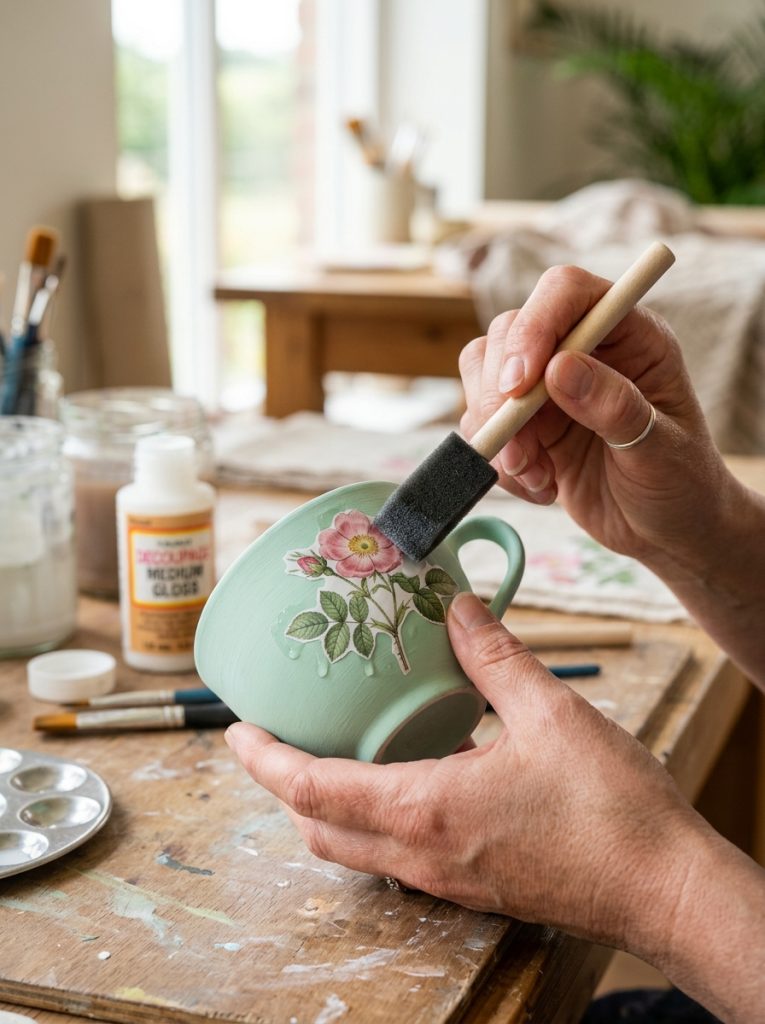
Construct an organic cottagecore feeding station using real dried botanical pressings or floral decoupage paper layered over a pastel acrylic base. Begin by applying two thin coats of chalky mint green acrylic paint to the outer surfaces of a porcelain teacup and matching saucer, allowing each layer to dry fully. Cut delicate flower and leaf patterns from paper napkins, removing the white backing layers to isolate the printed design. Brush a generous layer of outdoor decoupage adhesive onto the cup exterior, smoothing the paper cutouts gently from the center outward using a soft foam sponge to eliminate air bubbles. Once dried, coat the entire painted exterior with three layers of clear, UV-resistant exterior varnish, leaving the inner cup lining unpainted to keep birdseed safe from chemical exposure. Attach a braided jute cord through the handle to hang the unit from a sturdy tree branch.
Idea 2: Hand-Painted Wildflower Meadow Rim Bowl
Step-by-Step Guide
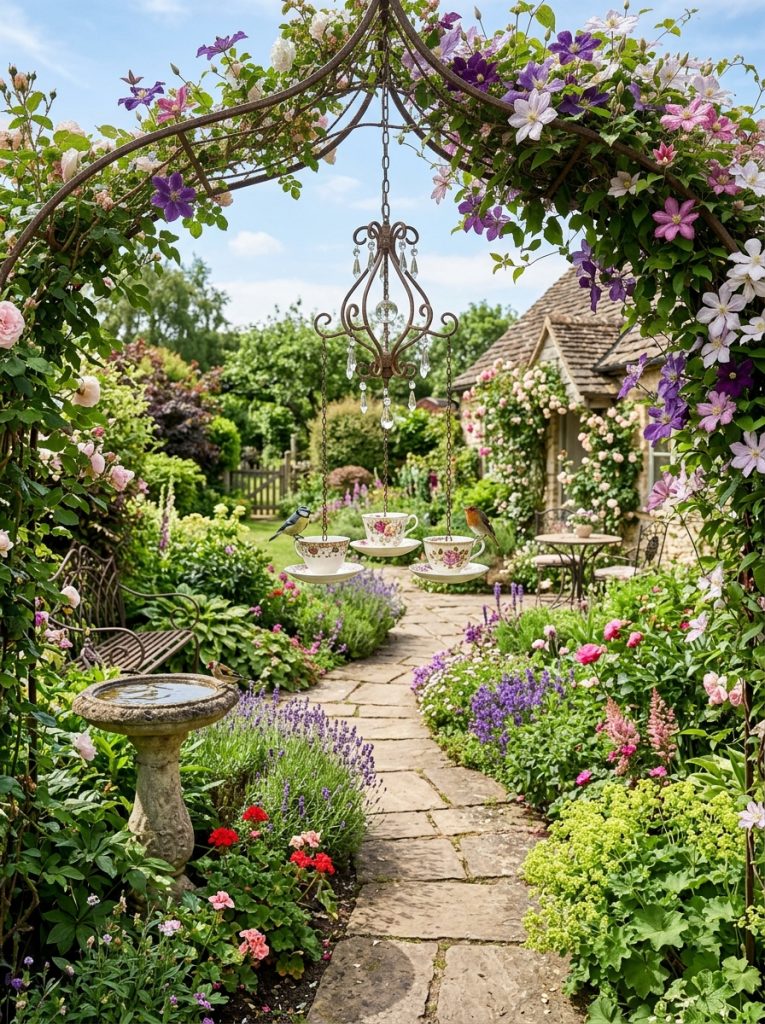
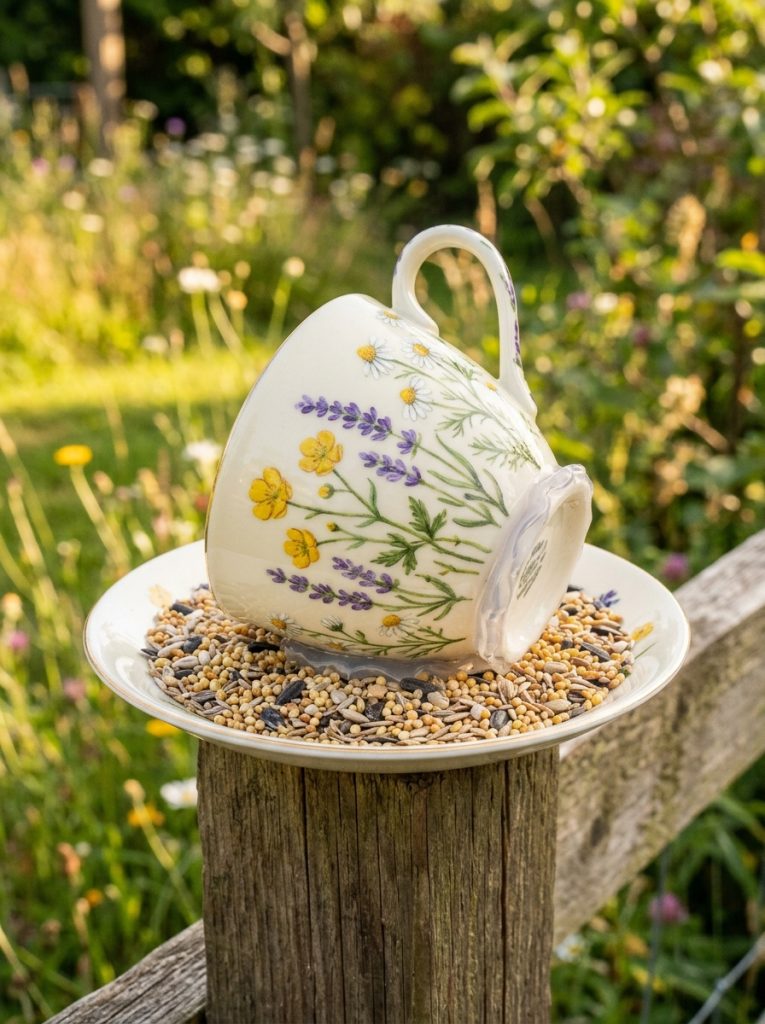
Design a vibrant, nature-inspired feeder by painting freehand wildflower stems directly around the outer rim of a wide ceramic teacup. Prime the exterior porcelain surface with a clear grip primer, then use fine-tipped detail brushes to paint slender green grass blades extending upward from the base. Add small dots of bright yellow, lavender, and soft pink acrylic paint to form simple field blossoms, such as buttercups, lavender sprigs, and chamomile flowers. Once the artwork cures for twenty-four hours, seal the entire outer cup body with a gloss exterior sealer to protect the painted design from rain and sun damage. Glue the cup horizontally onto its matching saucer using a heavy-duty waterproof silicone adhesive, creating a flat landing porch that holds mixed seeds while displaying the hand-painted rim motif.
Idea 3: Vintage Script and Rose Motif Hanging Feeder
Assembly Technique
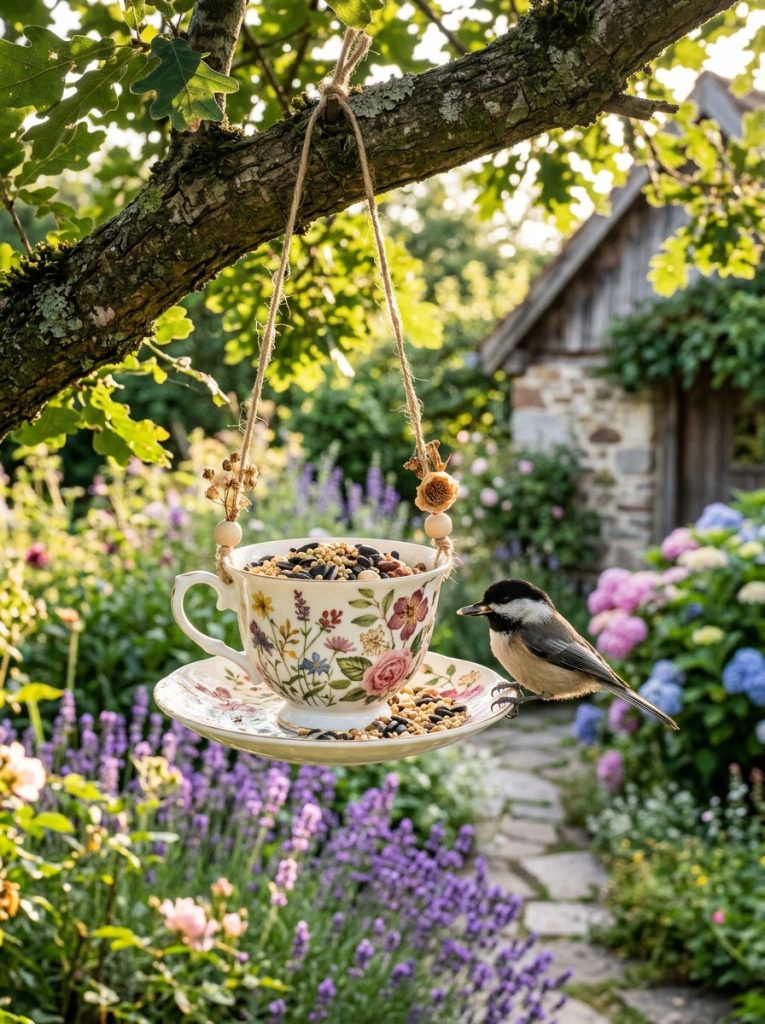
Create a vintage-inspired aesthetic feature by combining antique-style printed text decoupage with soft pink rose illustrations on a cream-colored porcelain set. Paint the exterior of the teacup and saucer in a warm ivory shade using outdoor multi-surface acrylic paint. Tear the edges of printed script paper cutouts to create a soft, aged border, then adhere them to the cup sides using exterior decoupage glue. Layer small cutouts of Victorian-style rose blossoms directly over the script, pressing the paper firmly against the curved ceramic surface to ensure full adhesion. Apply a coat of antiquing wax along the outer rim edges to enhance the vintage appearance, followed by a durable clear waterproof sealant. Thread a heavy brass chain through a hole drilled in the saucer center to suspend the feeder at eye level in the garden.
Idea 4: Honeybee and Chamomile Terracotta Style Feeder
Setup Method
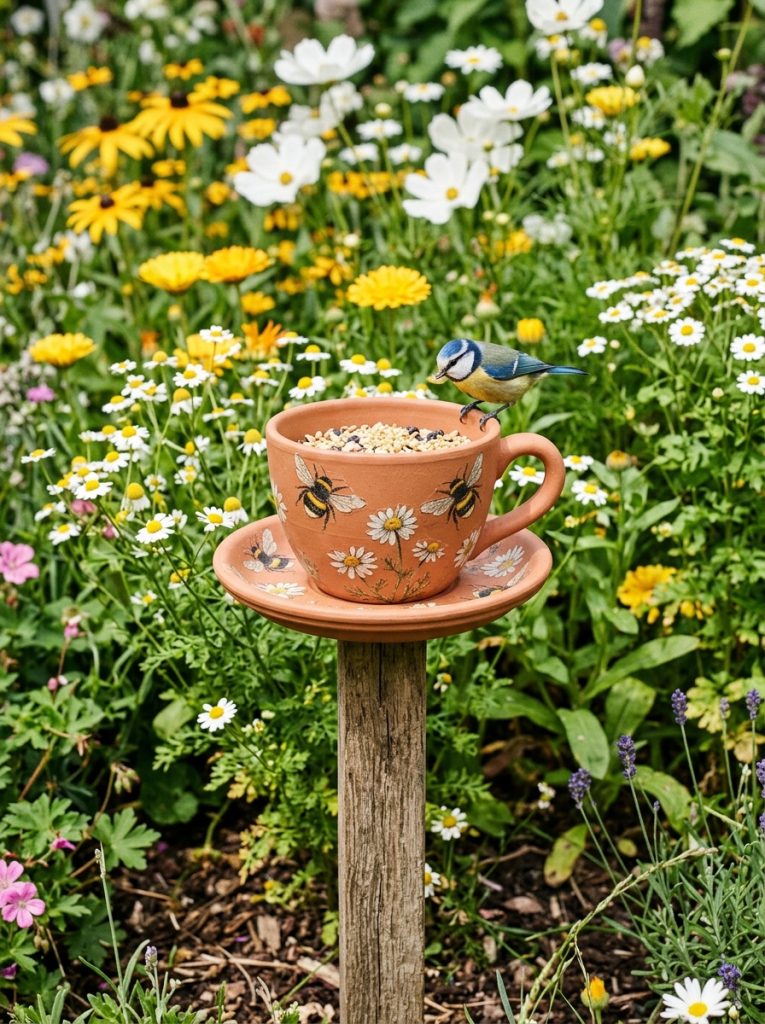
Build a warm, rustic garden accent by combining warm terracotta-colored paint with delicate honeybee decoupage elements across a large teacup surface. Apply a rich matte terracotta acrylic paint to the outer porcelain walls, creating the visual appearance of traditional clay pottery. Decoupage small printed bumblebee and white chamomile blossom graphics randomly across the cup exterior, securing the edges with a specialized outdoor craft glue. Seal the entire exterior surface with a matte finish varnish to maintain the earthy clay appearance while protecting the artwork from moisture. Attach the teacup to a wooden garden stake by driving a stainless steel screw through a pre-drilled hole in the cup bottom into the top of the stake, creating an elevated standing feeder for garden flower borders.
Idea 5: Pastel Gingham and Country Floral Pair
Execution Process
Design a cheerful, classic cottagecore pattern by painting a hand-drawn gingham plaid pattern around the base of a teacup paired with delicate floral decoupage. Paint the lower half of the cup in a soft pastel blue crisscross grid pattern using a flat edge painter brush, leaving the upper half painted solid white. Apply delicate cutouts of forget-me-not flowers over the white upper section using an outdoor decoupage sealer, blending the edges seamlessly into the white background paint. Protect the entire painted assembly with two coats of clear satin polyurethane sealer, ensuring weatherproofing against morning dew and heavy rainfall. Place this decorated teacup on an outdoor patio table or plant stand, filling the shallow saucer dish with fresh drinking water and the cup with sunflower seeds.
Idea 6: Distressed Shabby-Chic Porcelain Lantern
Step-by-Step Guide
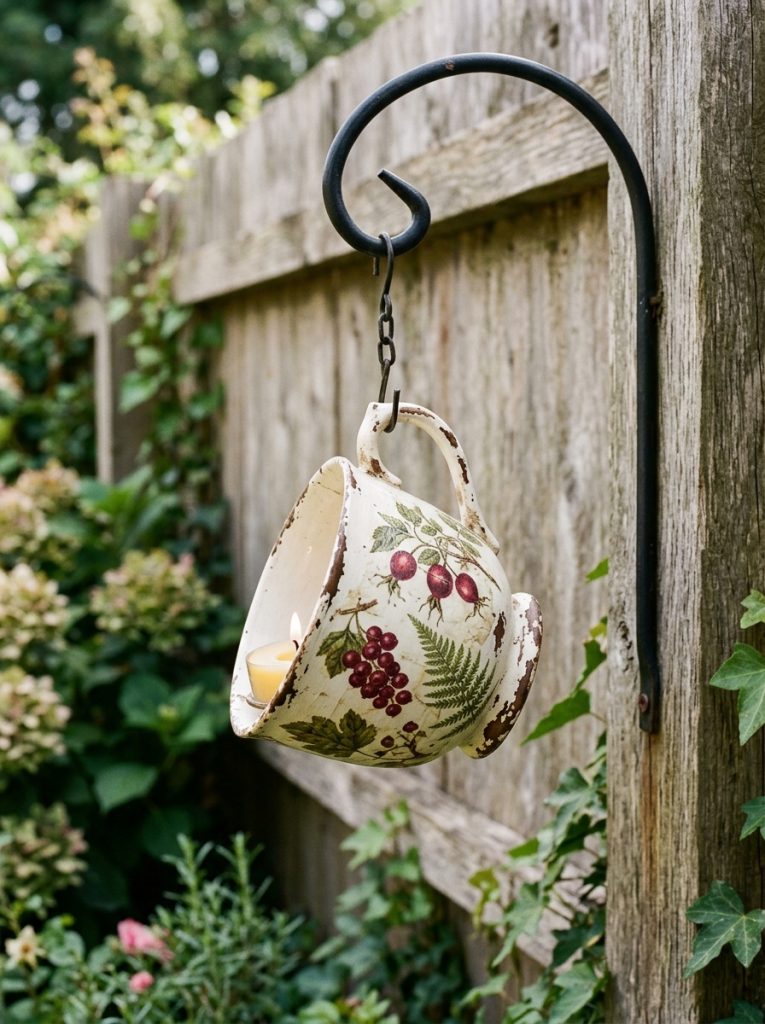
Fabricate an aged, rustic feeding hub using a technique that combines layered paint distress effects with vintage botanical decoupage cutouts. Coat a vintage teacup and matching saucer in dark brown acrylic paint, allow it to dry, and rub beeswax over selected corner edges and raised porcelain ridges. Apply a top coat of soft buttermilk white paint over the entire piece; once dry, gently rub the beeswaxed areas with fine sandpaper to reveal the dark paint beneath. Apply small decoupage illustrations of wild berries and ferns onto the distressed white background, sealing the entire exterior with an exterior matte varnish. Wire a sturdy metal bail handle around the base of the cup, allowing it to hang vertically like a small decorative lantern from an iron garden hook.
Idea 7: Cottage Moss and Ivy Wrap Cup
Assembly Technique
Construct a natural, forest-inspired bird feeder by combining deep green acrylic paint accents with leafy ivy decoupage patterns around a wide-rimmed porcelain cup. Paint the saucer and lower third of the teacup in a deep forest green color using a soft bristled brush to achieve smooth coverage. Decoupage delicate vine and ivy leaf strands around the middle porcelain band, wrapping the paper cutouts continuously around the cup body and onto the handle. After applying three protective coats of high-gloss outdoor varnish to waterproof the exterior surfaces, glue the cup to the center of its matching green saucer using clear marine-grade adhesive. Fill the wide saucer tray with cracked corn and birdseed mixes, positioning the finished piece on a stone garden wall.
Idea 8: Mushroom and Forest Fern Decoupage Station
Setup Method
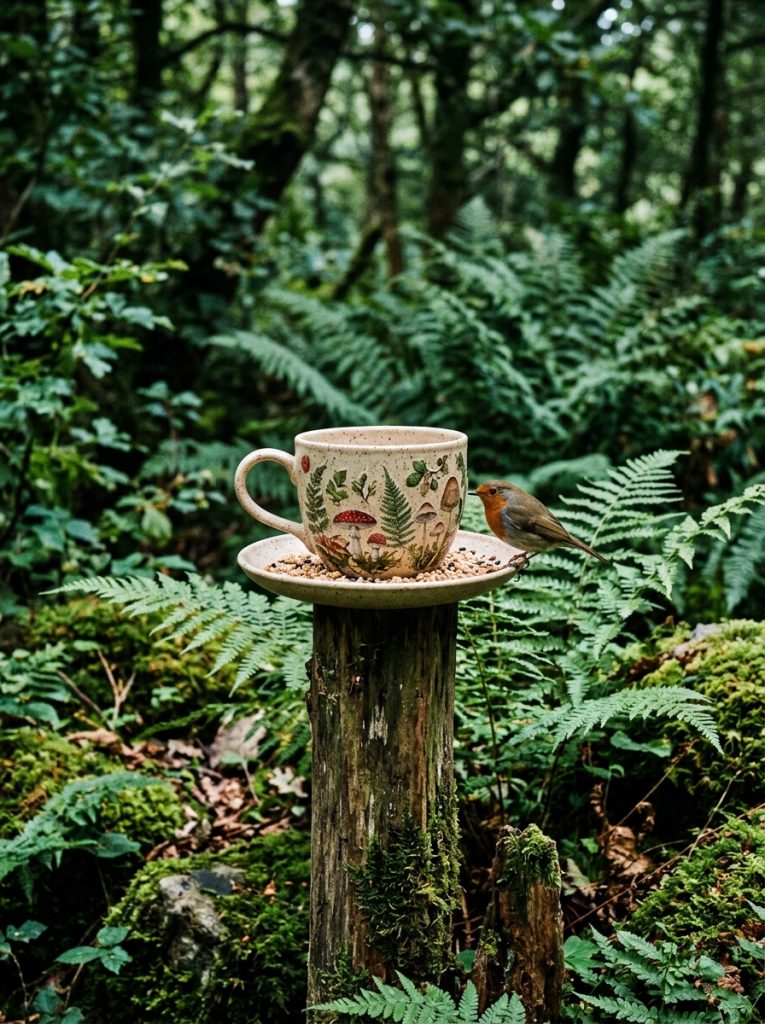
Design a woodland-themed cottagecore feeder using decoupage illustrations of forest mushrooms, mosses, and delicate ferns on a neutral ceramic background. Paint the teacup exterior using a light beige chalk-style acrylic paint, creating a smooth matte canvas for paper overlays. Cut out detailed graphics of forest toadstools and fern fronds, applying them carefully around the outer cup walls using an exterior decoupage medium. Coat the finished artwork with a UV-resistant matte sealer to protect the paper from fading in direct sunlight. Insert a threaded metal rod through a pre-drilled central hole in the cup and saucer, locking the assembly onto a wooden post installed in a shaded garden bed, creating a stable platform for small songbirds.
Idea 9: Painted Fruit Orchard Teacup Tray
Execution Process
Craft a bright, cheerful garden decoration by hand-painting small fruit motifs like cherries, peaches, and plums around the exterior of a wide teacup. Prime the outer ceramic surface, then paint small fruit clusters using rich red, orange, and purple acrylic paints, adding tiny green leaf details with a fine liner brush. Once the paint is fully cured, seal the exterior surfaces with a water-resistant gloss varnish to make the colors pop while resisting outdoor moisture. Secure the teacup vertically to a matching painted saucer using clear outdoor epoxy glue. Fill the open cup with fresh fruit slices, such as apples or orange halves, to attract fruit-eating bird species like orioles and mockingbirds to your outdoor space.
Idea 10: Toile Patterned Heritage Feeder
Step-by-Step Guide
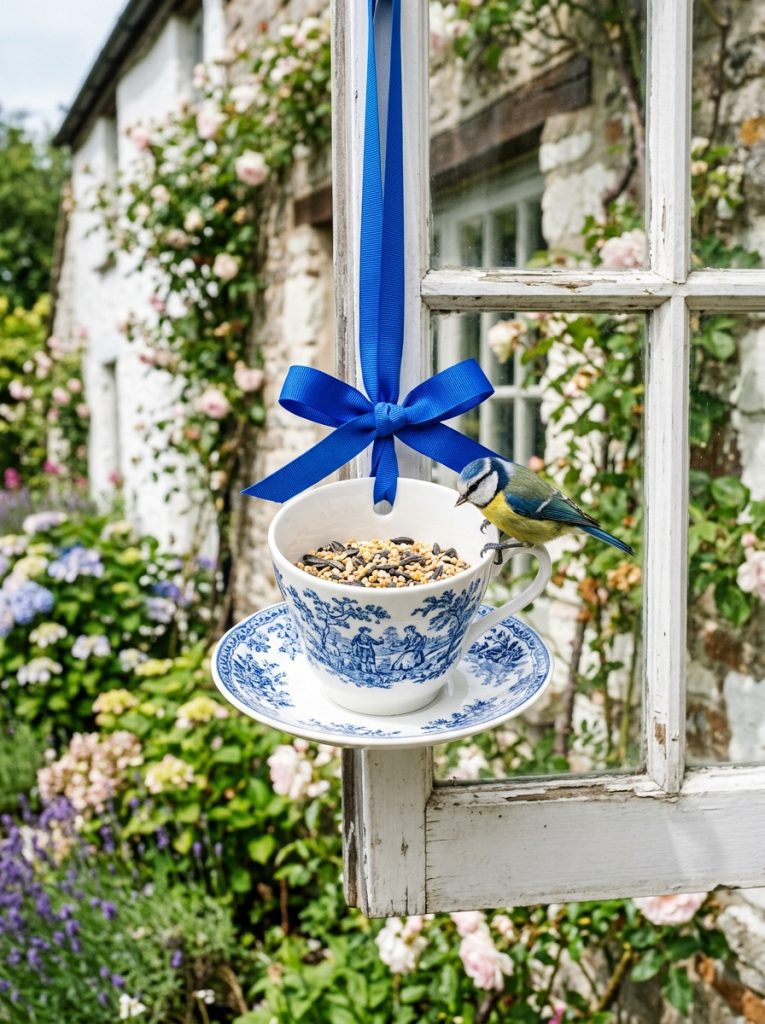
Construct a sophisticated vintage-style feeder by applying classic blue-and-white toile decoupage paper patterns over a smooth white porcelain teacup. Paint the saucer and teacup exterior in a bright white outdoor acrylic base coat, ensuring full coverage over any original porcelain patterns. Select classic french country or toile patterned decoupage napkins, isolating the detailed blue scene graphics and applying them around the cup body using outdoor decoupage glue. Seal the entire exterior surface with a clear gloss sealer to simulate the look of authentic glazed heritage chinaware. Suspend the completed feeder using a cobalt blue ribbon or coated wire threaded through the handle, hanging it near a garden window for easy birdwatching.
Common Beginner Mistakes and How to Avoid Them
Creating durable decoupage and hand-painted ceramic bird feeders requires avoiding several common preparation and finishing errors. A primary mistake among beginner crafters is using standard indoor decoupage glue or craft paint without applying a protective outdoor grade sealant. Indoor craft adhesives dissolve when exposed to dew, rain, and humidity, causing paper cutouts to peel off rapidly. Always select water-resistant, outdoor-rated decoupage mediums and seal completed projects with UV-resistant exterior varnishes. Another frequent error is painting the inside of the teacup where birdseed rests; ingested paint flecks can be harmful to wild birds. Keep all paints, glues, and varnishes strictly on the exterior surfaces of the cup and saucer. Finally, failing to clean or scuff the smooth ceramic surface before painting leads to paint flaking, so always wash and lightly sand porcelain pieces prior to priming.
Practical Tips for Better Results
Achieving professional, long-lasting results on ceramic crafts involves simple procedural adjustments during the preparation and assembly phases. Always allow every coat of paint, decoupage glue, and clear varnish to dry completely before applying the next layer, as trapping moisture between paint layers leads to bubbling. When working with delicate decoupage napkins, peel away all plain white paper backing layers so that only the thin top printed ply is glued to the ceramic surface. Apply clear sealants in multiple thin coats rather than one thick layer to avoid drips and cloudy finishes. Before hanging the feeder outside, allow the final waterproof varnish to cure in a dry, well-ventilated indoor area for at least forty-eight hours. Place the finished feeder in a partially shaded outdoor spot to minimize extreme sunlight exposure, extending the life of the painted artwork.
Styling, Presentation, or Organization Ideas
Integrating a cottagecore teacup bird feeder into your yard enhances the visual landscape while organizing feeding areas for local wildlife. Grouping three hand-painted feeders at varying heights along a wooden garden trellis creates a compelling vertical focal point in flower beds. Position feeders near natural perches, such as small trees or shrubbery, providing wild birds with quick shelter while offering clear visibility for backyard viewing. Matching the paint color schemes of your teacups with surrounding seasonal flowers, such as pairing soft pink cups with foxgloves or blue cups with hydrangeas, establishes visual harmony. Mounting teacup feeders on decorative wooden fence posts or hanging them from iron shepherd hooks adds charm to garden walkways. Surrounding the base of standing feeders with natural river rocks or mulch keeps the area tidy and prevents mud splatters.
Budget or Time Planning
Planning a decoupage teacup craft project effectively keeps expenses low while maximizing creative enjoyment. Sourcing vintage teacups, saucers, and decorative paper napkins from thrift shops, estate sales, or secondhand stores provides affordable materials for budget ideas. Essential supplies like acrylic paint, outdoor glue, sandpaper, and varnish can be purchased inexpensively at local craft stores and used across multiple projects. The total active working time for completing one decorated feeder is approximately one to two hours, spread across a couple of days to allow for proper drying intervals. Dedicate the first day to surface cleaning, sanding, base priming, and applying decorative paint or decoupage graphics. Use the second day for applying multiple clear seal coats and setting up mounting hardware, ensuring a smooth, stress-free crafting experience.
Creative Expansion and Advanced Inspiration
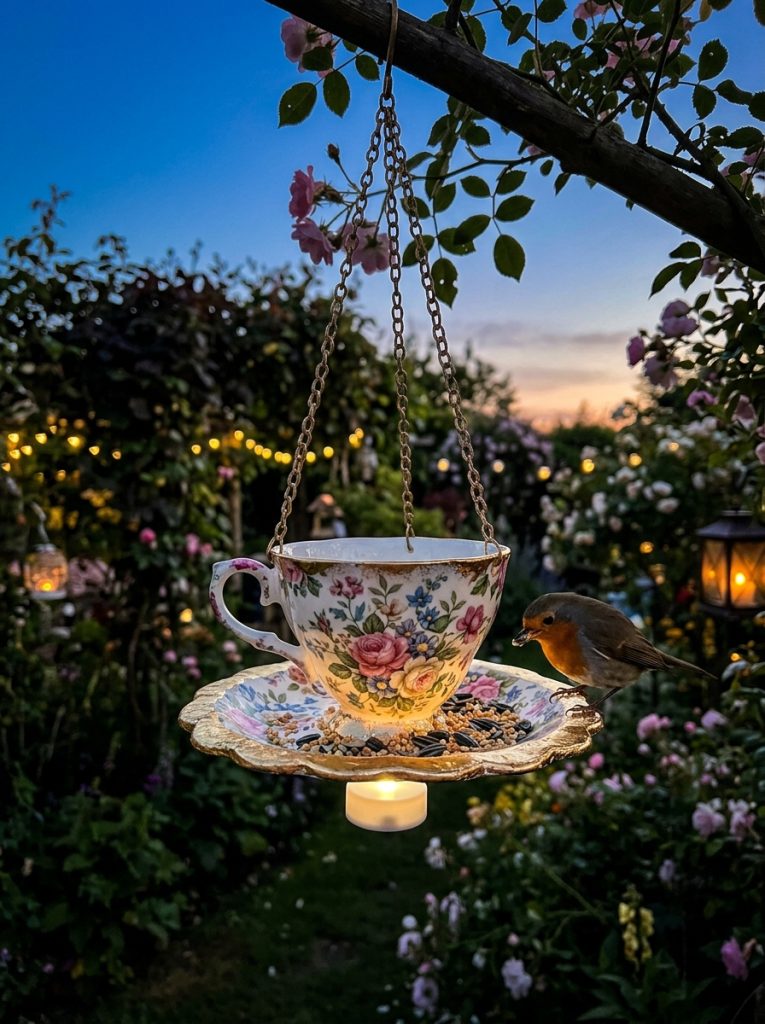
After mastering basic painting and decoupage techniques, explore advanced design variations to expand your outdoor handmade decor collection. Experiment with adding fine metallic gold leaf accents along the scalloped edges of vintage saucers to create an elevated, antique aesthetic. Combine hand-painted lettering, such as custom garden quotes or botanical plant names, onto the front face of teacups using fine calligraphic acrylic markers. Advanced makers can incorporate small solar-powered tea lights attached beneath the saucer base to softly illuminate garden paths and floral patterns after dark. You can also create matching ceramic birdbaths or small hanging water stations using larger serving bowls decorated with identical decoupage themes, creating a unified cottagecore garden set that elevates the overall visual appeal of your outdoor living space.