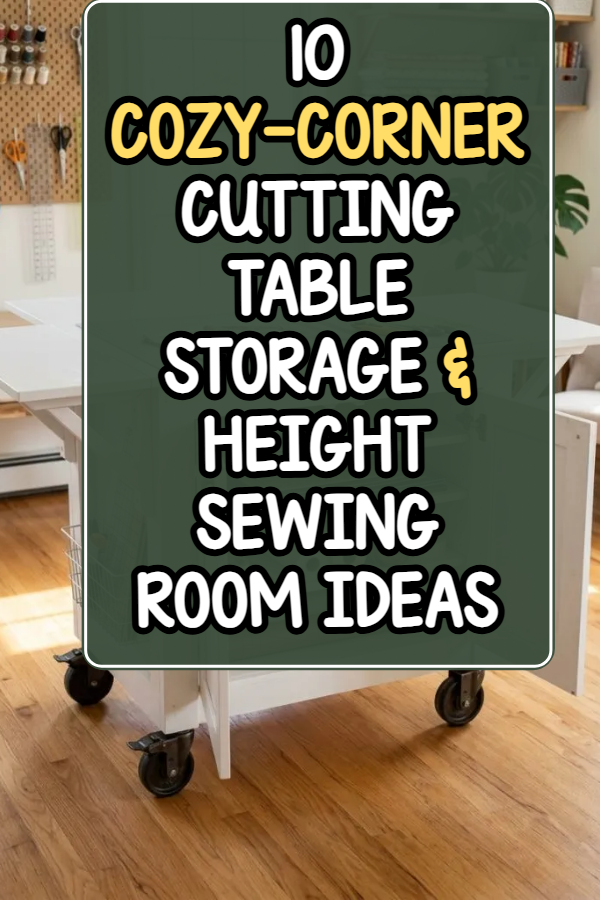
10 Cutting Table Storage & Height Sewing Room Ideas
Designing an ergonomic sewing room requires balancing surface accessibility, physical posture support, and structural organization. Dedicated fabric cutting surfaces play a pivotal role in maintaining proper body alignment during long crafting sessions. Standard dining tables or desk surfaces often sit too low, causing spinal strain, neck fatigue, and inefficient pattern drafting. Implementing high-altitude cutting tables equipped with multi-functional storage systems transforms standard craft rooms into professional, highly organized work environments. This comprehensive guide details non-destructive setup methods, height elevation techniques, and built-in storage integrations designed to protect physical well-being while optimizing spatial utility. Readers will explore step-by-step layout strategies, storage configurations, and structural concepts that accommodate varying room sizes. Adopting these functional DIY ideas helps crafters streamline their cutting operations, keep materials organized, and create a modern design aesthetic tailored to daily sewing needs.
The Practical Value of Height-Optimized Cutting Workspaces
Proper table elevation and structured storage are essential elements in contemporary sewing room planning. Standard desk heights hover around thirty inches, which forces most adults to bend uncomfortably while handling rotary cutters and acrylic rulers. Elevating your cutting surface to a standing waist height—typically between thirty-six and forty-two inches—eliminates postural strain, enabling smoother, more precise cuts over extended periods. Integrating storage units directly beneath elevated cutting surfaces maximizes underutilized floor space in small rooms. This approach combines visual appeal with high practical utility, providing dedicated zones for self-healing mats, fabric bolts, and drafting accessories. Beginner friendly setups allow makers to customize their workspace layouts using accessible furniture components, making ergonomic home design easily attainable without expensive custom carpentry or permanent room modifications.
Materials, Equipment, and Setup Preparation
Creating an elevated, storage-rich cutting workstation requires careful room measuring and material selection. Begin by calculating the ideal counter height using your standing elbow measurement; your workspace surface should sit roughly three to five inches below your bent elbow. Essential structural components include sturdy counter-height cabinets, heavy-duty furniture risers, solid flat table tops, locking caster wheels, and adjustable tension brackets. For internal organization, gather clear shallow bins, under-table slide drawers, and hanging side grids. Tools needed for assembly typically include a standard level, tape measure, cordless screwdriver, and protective surface pads. Planning considerations involve verifying floor weight capacities, ensuring adequate clearance around all sides of the table for fluid movement, and positioning the station near natural or ambient task lighting to maintain visual clarity throughout your creative projects.
Comprehensive Cutting Station Concepts and Storage Systems
Counter-Height Cube Bookcase Island
Setup Method
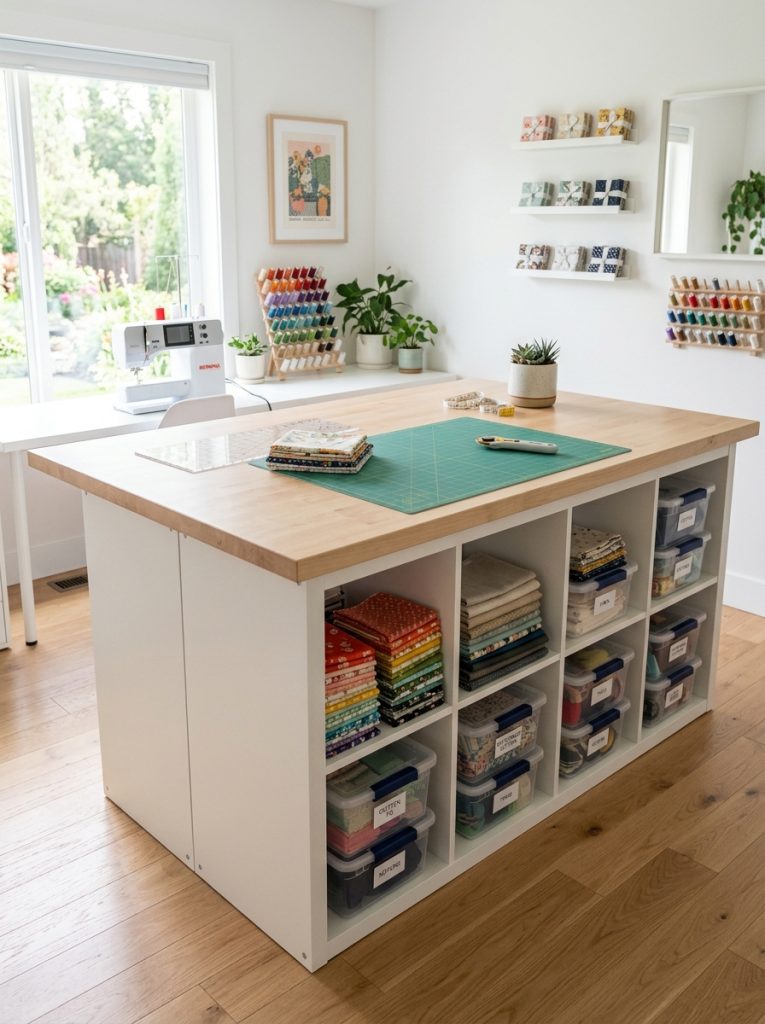
Construct a double-sided cutting island by positioning two identical counter-height cube bookcase units back-to-back, anchoring them tightly using heavy-duty bottom metal connector plates. Place a smooth, thick solid-core wooden panel across the top surfaces, securing it with non-slip mounting pads. This setup establishes an ideal thirty-six-inch height while creating thirty-two individual storage compartments beneath the working zone. Populate the open compartments with clear canvas bins to categorize scrap fabrics, tissue patterns, and pressing notions. Keep primary cutting accessories, such as acrylic rulers and rotary blades, in upper shelves for quick access. This central layout provides full three-hundred-and-sixty-degree access around the table perimeter, allowing seamless pattern drafting and fabric layout without spatial restriction.
Mobile Rolling Counter Cart with Dual Drop-Leaves
How to Create
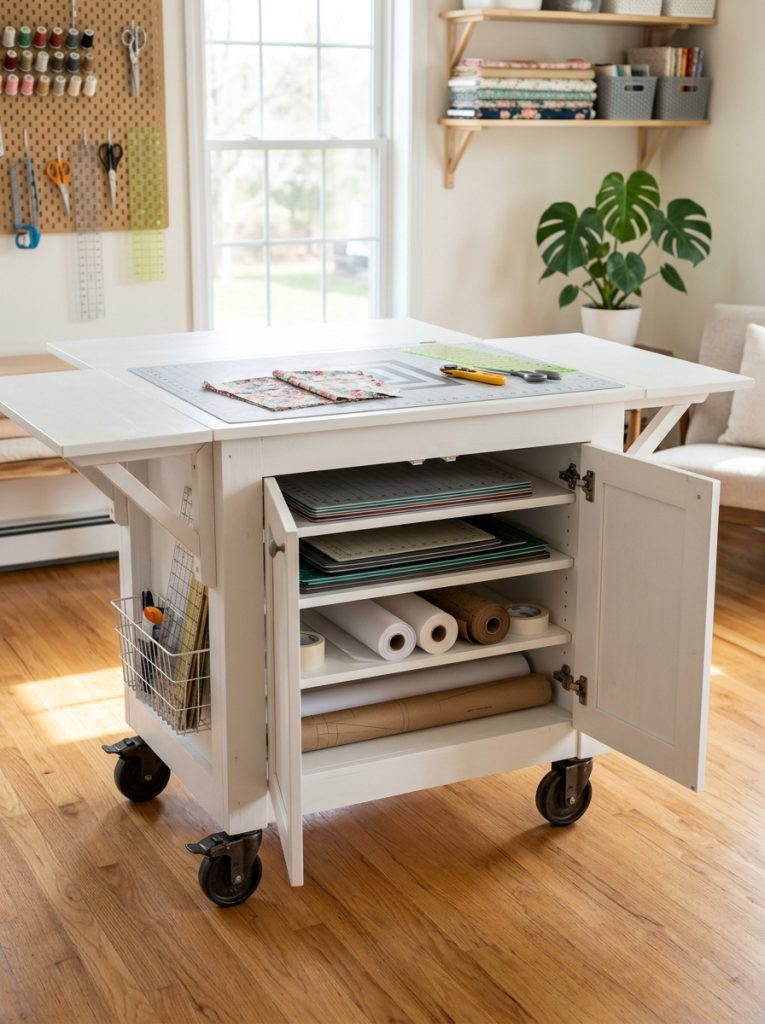
Assemble a rolling heavy-duty storage cart featuring folding side drop-leaves supported by gate-leg brackets. Mount four lockable industrial caster wheels to the base frame to elevate the unit to thirty-eight inches off the floor while providing effortless mobility. The internal central cabinet holds adjustable shelving designed specifically for storing heavy self-healing cutting mats upright, alongside large rolls of pattern paper and interfacing. Fold the hinged side panels down to park the cart against a perimeter wall when not in use, reducing its physical footprint. When extended, the wide table top creates an expansive cutting station ideal for unrolling wide yardage without letting delicate fabrics drop onto the floor.
Adjustable Industrial Sawhorse Base with Lower Wire Racks
Step-by-Step Guide
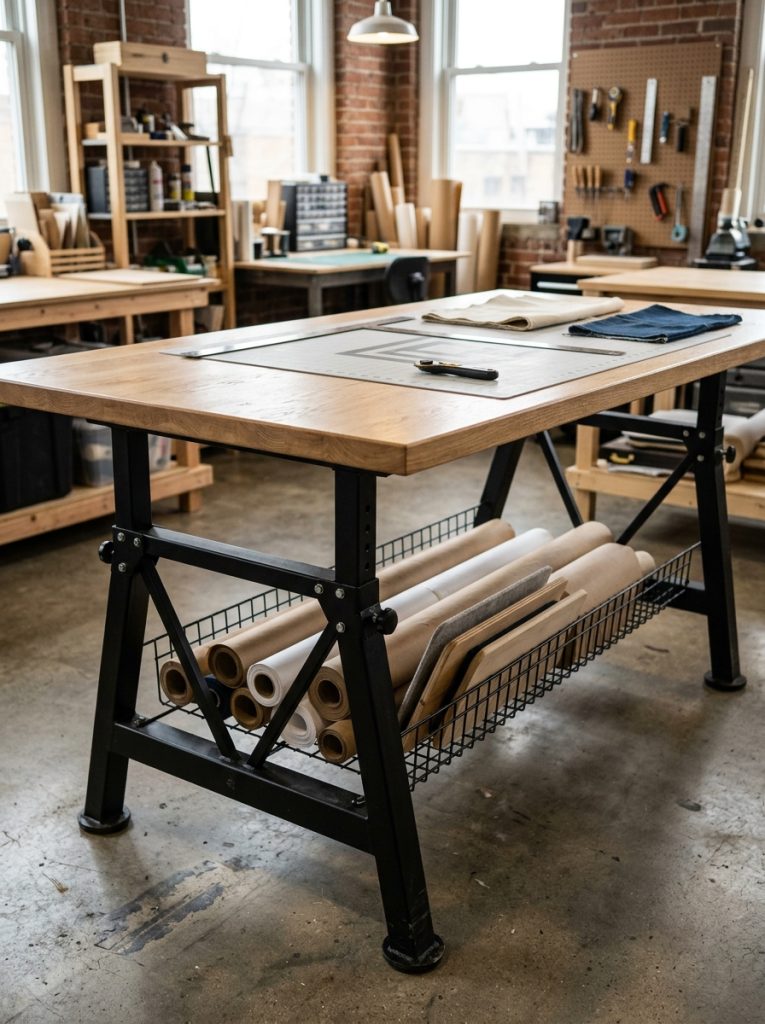
Set up two height-adjustable heavy-duty steel sawhorses, extending their telescoping legs to thirty-nine inches and locking the pin mechanisms securely. Span a durable, sealed birch plywood surface across the top crossbars, fastening it from underneath using heavy-duty pipe clamps. Mount an open wire metal shelf rack across the lower cross-braces of the sawhorses to form a suspended under-table storage deck. Utilize this lower wire rack to house long rolls of drafting paper, giant cutting mats, and heavy pressing boards out of sight. The industrial steel foundation delivers absolute stability during vigorous fabric slicing, while the wide-open base layout provides ample legroom and generous storage capacity without adding visual weight.
Wall-Mounted Folding Surface anchored on Shallow Storage Cabinets
Execution Process
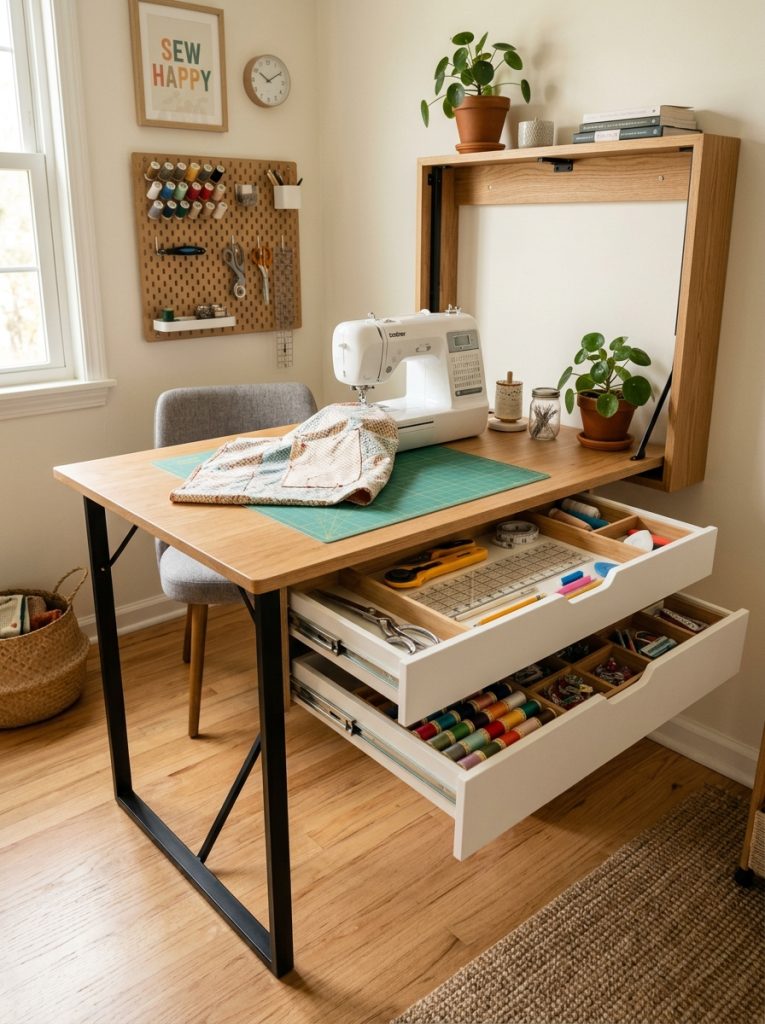
Install a pair of narrow, wall-anchored floor cabinets that stand thirty-six inches tall to serve as a sturdy structural foundation along an interior wall. Mount a thick wooden table top onto the cabinets using heavy-duty continuous piano hinges, allowing the surface to fold downward flat against the cabinet doors when inactive. Attach two fold-out wooden support legs underneath the front edge of the surface, equipping them with rubber feet to prevent floor scuffs. The interior shallow cabinet drawers host shallow divider trays for organizing shears, tracing paper, pattern weights, and marking chalk. This space-saving execution offers an expansive horizontal workspace that folds away instantly, leaving behind a clean, minimalist storage facade ideal for multi-use rooms.
Raised Dresser Unit with Slide-Out Acrylic Drafting Tray
Step-by-Step Guide
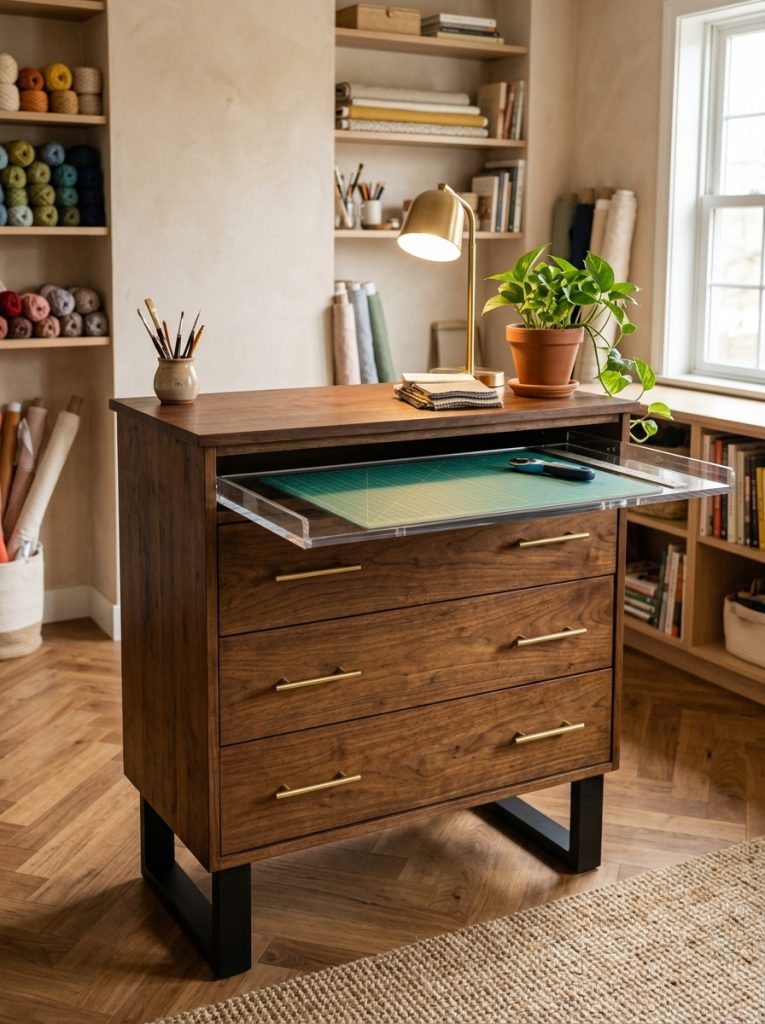
Repurpose a classic wooden bedroom dresser by attaching heavy-duty wooden block risers or modern metal legs to the bottom frame, raising the total surface height to forty inches. Mount heavy-duty full-extension drawer slides directly beneath the top main surface to hold a custom slide-out acrylic drafting tray. Pulling this tray out exposes an extra transparent cutting mat support zone that retracts completely when work is finished. The deep lower drawers of the dresser provide vast, dust-free storage space for heavy fabric bolts, specialty stabilizers, and seasonal patterns. Sand down the primary surface and coat it with a smooth matte sealer to prevent delicate silk or knit fabrics from snagging during placement.
Tension-Braced Overhead Rack over Elevated Workstation
How to Make
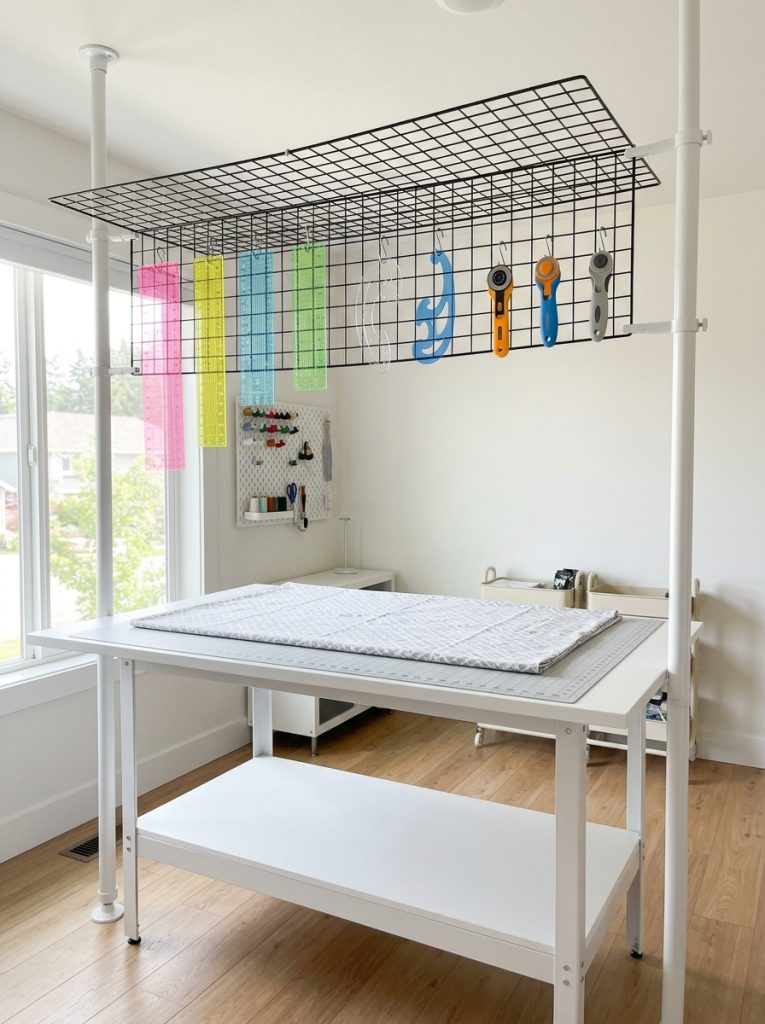
Position a standard counter-height utility table between two vertical floor-to-ceiling tension poles fitted with crossbar brackets. Attach a flat wire grid panel horizontally between the upper poles directly over the center of the cutting surface, positioning it well above head height. Use hanging double-sided S-hooks to suspend large acrylic drafting rulers, French curves, flexible measuring tapes, and rotary cutters directly overhead. The main table surface remains completely free of clutter, reserving all desktop space for large fabric layouts. The tension poles require no wall drilling, making this vertical storage extension fully renter friendly while keeping primary drafting tools within arm’s reach while you work at your cutting station.
Modular Kitchen Base Cabinets with Recessed Mat Slot
Execution Process
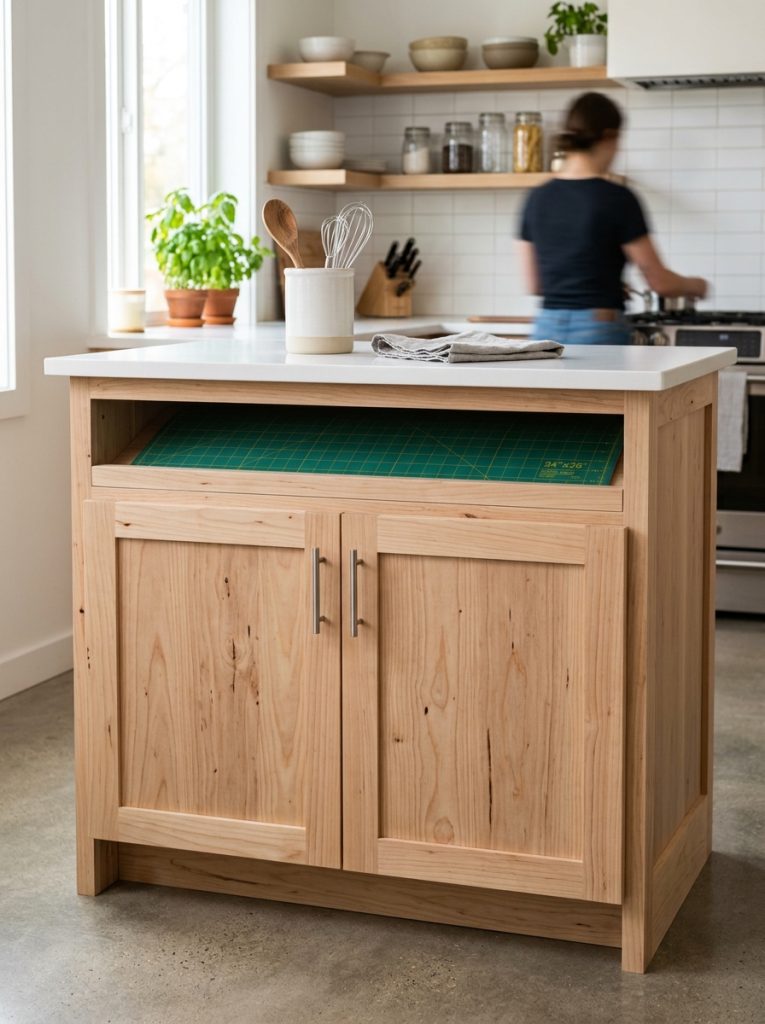
Arrange two stock unfinished wooden kitchen base cabinets side-by-side, securing them together through internal frame screws. Construct a narrow wooden riser frame across the top to create a two-inch recessed horizontal slot directly beneath the main counter surface. Fit a solid laminate countertop over the riser frame, allowing the recessed gap to remain open across the front edge. Slide your largest self-healing cutting mat flat into this dedicated gap when it is not actively being used, protecting the mat surface from ambient dust and light damage. Utilize the lower cabinet doors and pull-out internal wire baskets to store heavy ironing tools, bulk supplies, and large scrap collection bins neatly concealed.
Ironing Board Extension Bridge Mounted to Cutting Station
How to Create
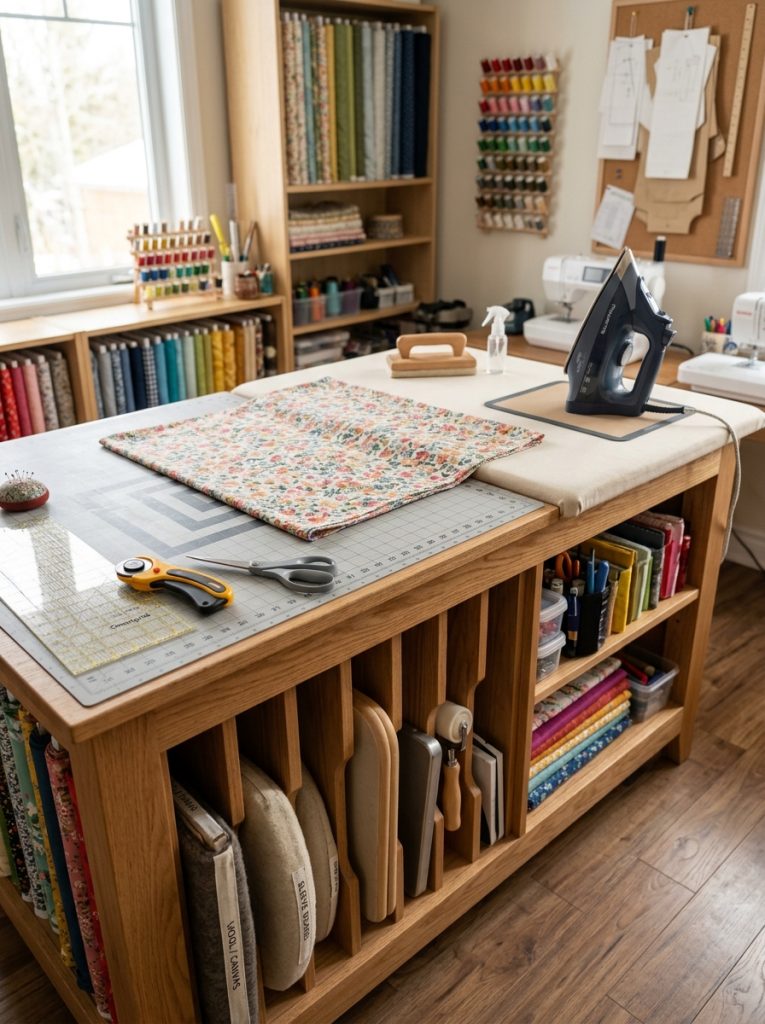
Construct a high-altitude multi-tasking island by attaching a custom wooden bridge bracket to the side frame of a thirty-eight-inch elevated cutting table. Secure a padded, heat-resistant pressing surface to the bracket, positioning it flush with the primary cutting table height. Build open vertical slot dividers beneath the pressing bridge to hold tailor hams, sleeve boards, seam rollers, and pressing cloths upright. This integrated layout allows you to move directly from cutting pattern pieces to pressing seams without stepping away or altering your posture. The seamless height alignment across both surfaces prevents long fabric cuts from draping awkwardly or pulling off the table edge during delicate preparation steps.
Suspended Pegboard Backing on Rolling Counter Console
Step-by-Step Guide
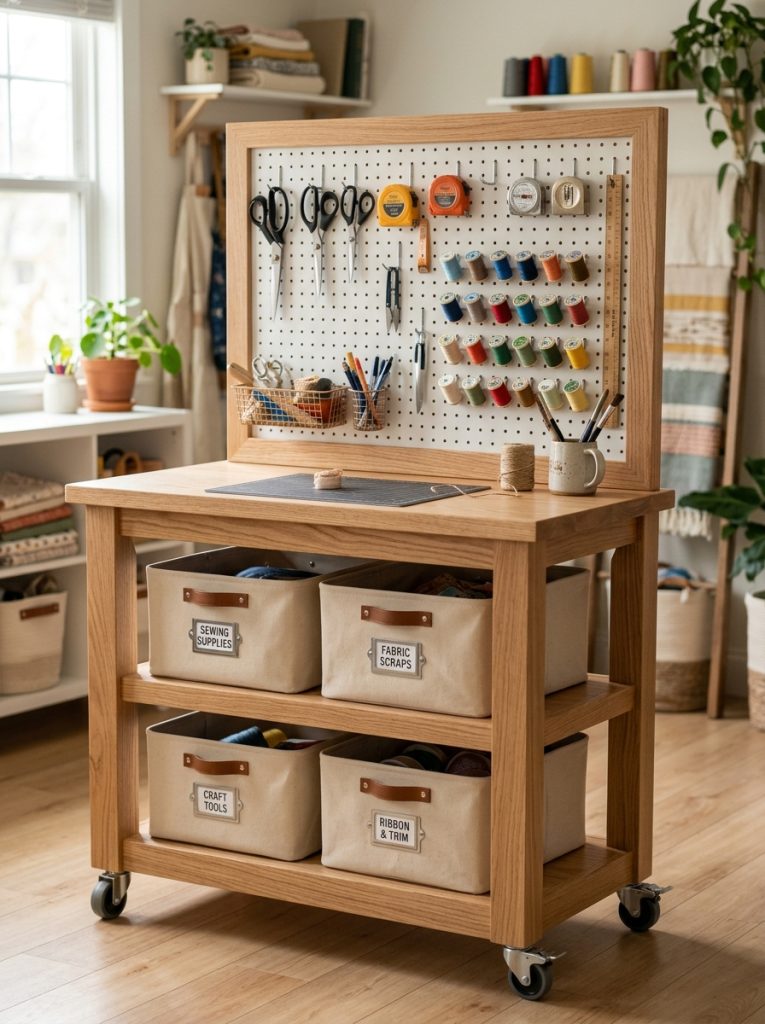
Attach two vertical wooden support posts securely to the rear corners of a rolling counter-height storage console using heavy-duty bolts. Mount a framed wood pegboard sheet across the upper section of the posts, positioning it directly behind the main working surface. Install metal peg hooks to organize shears, thread reels, tape measures, and pattern hooks hanging in clear view. The lower storage console beneath the surface features adjustable open shelving for clear plastic storage tubs containing seasonal materials and folded yardage. Because the pegboard frame is attached directly to the mobile console body, the entire organized workstation can be moved around the room effortlessly without unmounting any wall hardware.
Overhanging T-Leg Table with Under-Desk Rolling Basket Carts
Setup Method
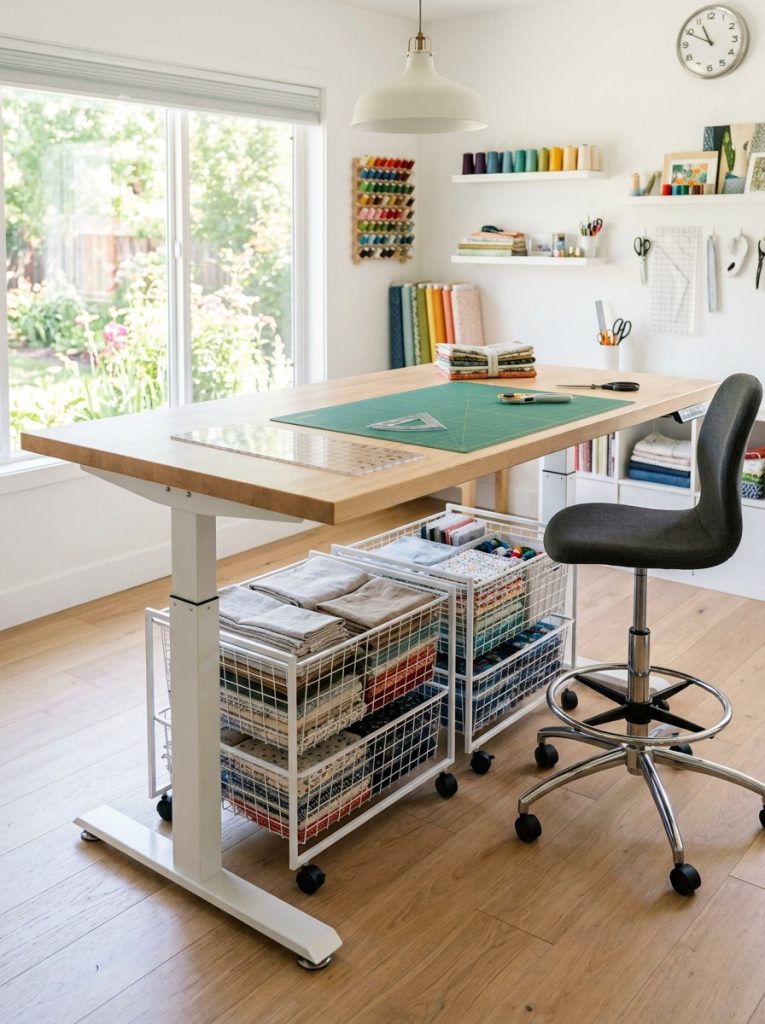
Assemble a custom elevated table using a wide wooden surface supported by two central T-shaped metal leg frames adjusted to forty inches high. The minimal footprint of the T-legs creates an expansive, unobstructed open floor zone beneath the table center. Roll low-profile wire basket drawer carts underneath both sides of the table frame to house folded textiles, interfacing rolls, and bulky notions. The open overhang of the table surface permits crafters to pull up a tall draft stool comfortably for detailed marking work while keeping substantial storage capacity positioned below. This minimalist style maintains clear visual lines through the space while providing flexible, modular organization that adapts to changing storage demands.
Common Beginner Mistakes and How to Avoid Them
A common mistake when designing a custom cutting station is failing to account for proper ergonomic proportions, leading to a table that is either too high or still awkwardly low. Always measure your standing elbow height while wearing your typical footwear before finalizing table leg extensions or purchasing base cabinets. Another frequent error is selecting lightweight or unstable bases that wobble when applying downward pressure with a rotary cutter; ensure all table frames, leg brackets, and caster wheels feature high load ratings and sturdy locking mechanisms. Avoid leaving self-healing cutting mats stored vertically or leaned against warm radiators, as thermal exposure and bending cause permanent warping. Store cutting mats completely flat inside dedicated horizontal slots or flat under-table shelves to preserve their smooth surface and extend their operational lifespan.
Practical Tips for Better Results
Maximizing the efficiency of your elevated cutting workstation requires routine maintenance and simple system tweaks. Apply clear protective polyurethane coats or smooth laminate sheets to raw wood table tops to prevent splintering and protect delicate textiles from snagging. Utilize non-slip rubber shelf liners underneath your self-healing cutting mats to prevent the mat from sliding while making long cuts through thick fabrics. Affix a rigid adhesive measuring tape directly along the front edge of your cutting table to allow rapid, accurate fabric measurements without reaching for loose measuring tools. Periodically inspect and tighten all structural hardware, caster wheel locks, and frame brackets to maintain a firm, wobble-free cutting surface that supports continuous, high-precision pattern work.
Styling, Presentation, and Organization Ideas
Establishing a cohesive visual layout enhances both the aesthetic charm and functional clarity of your creative room. Select matching neutral tones—such as warm natural wood, clean white, or matte black—for all table bases, storage bins, and hanging hardware to build a modern design motif. Group under-table storage containers by material texture and color shade, placing clear containers in open compartments to maintain immediate visual inventory tracking. Line open shelving grids with canvas bins featuring standardized metal label holders to hide irregular visual clutter while keeping items classified. Illuminating the main cutting plane with an adjustable, swing-arm LED desk lamp or overhead track lighting ensures crisp visibility across pattern lines, creating an inviting, professional studio feel throughout your space.
Budget and Time Planning Strategies
Building an elevated cutting table with integrated storage can easily accommodate varying financial budgets and time constraints. Repurposing existing furniture, such as mounting tall bed legs onto an old dining table or stacked secondhand bookcases, provides a budget-friendly foundation without sacrificing structural quality. Allocate your budget toward essential durability components, specifically high-grade locking casters, flat solid surface tops, and heavy-duty corner brackets. Plan your build as a multi-stage weekend project: spend the first day measuring physical space, gathering materials, and preparing furniture surfaces, and reserve the second day for frame assembly, height leveling, and supply organization. This step-by-step approach ensures a stress-free setup while delivering a high-utility crafting hub tailored to your specific workflow.
Creative Expansion and Advanced Inspiration
As your garment construction and sewing capabilities advance, your elevated cutting workstation can expand to include specialized functional upgrades. Integrate an embedded recessed LED light pad flush into the center of your cutting top to streamline pattern tracing and embroidery transfer work. Install power strip outlets directly along the table frame to provide safe, neat cable management for electric rotary cutters, mini irons, and digital pattern projectors. For makers managing high volumes of raw materials, attach a horizontal steel rod assembly beneath the rear table edge to hold heavy rolls of kraft paper or interfacing for effortless spooling. Evolving your cutting station with these advanced features maintains an efficient, highly adaptable studio environment that inspires continuous creative project execution.