10 Book Crafts DIY Ideas
Old books can become beautiful decorative pieces instead of collecting dust on a shelf or ending up in a recycling bin. Book crafts combine creativity, sustainability, and practical decorating ideas that fit many home styles, from rustic to minimalist interiors. Whether you enjoy making handmade decorations for your living room, bedroom, office, or reading corner, there are many beginner-friendly projects that require only basic materials and simple techniques. This Pinterest-inspired guide introduces ten creative ideas that transform unwanted books into stylish home decor while encouraging careful planning and thoughtful design. You will also learn how to prepare your workspace, select suitable materials, avoid common mistakes, manage your budget, and improve the overall presentation of each finished project. Every idea is designed to be practical, realistic, and easy to follow while providing plenty of inspiration for your next creative project.
Why Book Crafts Are Trending for Modern Home Decor
Book crafts continue to appear among popular Pinterest ideas because they combine DIY creativity with sustainable decorating practices. Many people already own books that are damaged, outdated, or no longer needed, making them excellent materials for affordable creative projects. Handmade decorations also allow homeowners to personalize their spaces without purchasing expensive decorative accessories. These projects suit apartments, family homes, classrooms, craft rooms, and reading spaces because they can be adapted to different sizes and color palettes. Beginners appreciate that most book crafts require only simple cutting, folding, gluing, and arranging techniques rather than advanced woodworking or specialized equipment. Their versatility also supports modern design trends, including minimalist style, vintage decoration, cottage-inspired interiors, and organized shelving displays. This combination of accessibility, creativity, and practical value explains why book-based DIY tutorials remain highly searched and widely shared.
Materials and Preparation
Preparing properly makes every DIY project safer, easier, and more enjoyable. Select books that are no longer valuable, damaged beyond repair, or purchased specifically for crafting. Gather scissors, a precision craft knife, a metal ruler, cutting mat, strong paper glue, hot glue gun, paintbrushes, acrylic paint if desired, decorative ribbon, twine, recycled cardboard, and protective newspaper for your workspace. Measure the available display area before creating larger decorations to ensure the finished piece fits comfortably. Consider the room’s existing colors and decoration style so the completed project complements surrounding furniture and accessories. Organize all materials before beginning, keep sharp tools safely stored when not in use, and work on a flat, stable surface with good lighting. Careful planning reduces mistakes and creates cleaner, more professional-looking handmade decorations.
Folded Page Heart Sculpture
How to Create
Transform an old hardcover book into an elegant heart sculpture by folding individual pages rather than cutting them. Begin by lightly sketching a heart pattern on the edge of the closed book as a visual guide. Fold each page inward using consistent measurements so the heart gradually appears when viewed from the front. Take your time to keep every fold crisp and aligned because consistency creates a smooth finished shape. Once all pages are folded, gently adjust uneven sections by hand without forcing the paper. Leave the book cover plain for a minimalist style or decorate it with linen fabric, ribbon, or a simple handwritten title. This easy project works well as shelf decoration, a reading corner centerpiece, or a thoughtful handmade gift. The sculptural appearance blends beautifully with modern design while preserving the recognizable shape of the original book.
Rustic Book Page Wreath
Step-by-Step Guide
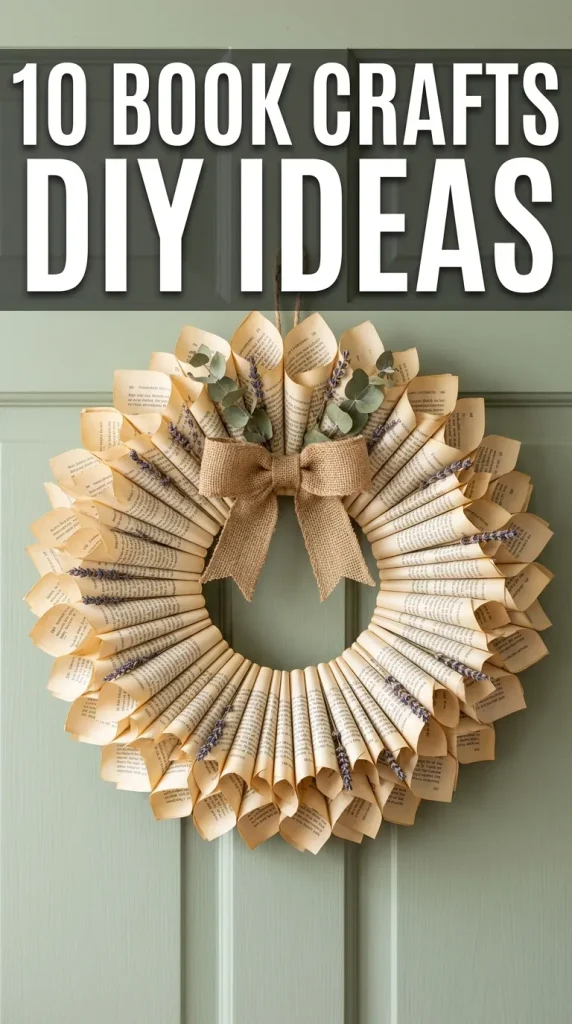
Create a decorative wreath by rolling or folding individual book pages into cone shapes and attaching them around a circular cardboard base. Start with evenly sized pages for a balanced appearance. Secure each cone using glue before arranging them in overlapping layers around the circle until the base is completely hidden. Continue adding additional layers toward the center to create depth and texture. Finish the design with a neutral fabric bow, dried flowers, or preserved greenery to enhance the natural appearance without overwhelming the paper details. Hang the completed wreath on an interior door, above a fireplace, or inside a craft room for year-round decoration. This handmade project demonstrates how recycled materials can become elegant home decor while remaining beginner friendly. Different page colors and paper aging naturally create visual variation that adds warmth and character.
Vintage Book Page Flowers
How to Make
Paper flowers made from book pages provide lasting decoration without requiring fresh blooms. Cut several petal shapes in different sizes before gently curling the edges with a pencil or wooden dowel. Stack the petals from largest to smallest and secure them through the center using glue or floral wire. Add additional layers until the flower appears full and balanced. Create leaves from green recycled paper or fabric if desired, then arrange several finished flowers inside a decorative vase or attach them to a wooden sign. Experiment with different petal shapes to produce roses, peonies, daisies, or layered blossoms that suit various decorating themes. These flowers can decorate tables, shelves, weddings, seasonal displays, or gift wrapping. Their neutral paper colors complement minimalist style interiors while encouraging sustainable DIY creativity.
Secret Storage Book Box
Execution Process
Turn a thick hardcover book into a hidden storage compartment that blends naturally with bookshelves and desks. Carefully measure the desired storage space before cutting through multiple pages using a craft knife and metal ruler. Leave a solid paper border around every edge to preserve the book’s strength and appearance. Work gradually over several layers rather than attempting to cut deeply at once. Once the compartment reaches the preferred depth, glue the remaining pages together around the edges while keeping the interior open. Allow everything to dry completely before placing small keepsakes, stationery, craft supplies, or personal notes inside. The finished piece provides practical organization while maintaining the familiar appearance of an ordinary book. Careful measuring, patience, and neat cutting produce a professional result suitable for many home decor styles.
Decorative Book Stack Display
Setup Method
Stack several hardcover books to create an attractive decorative arrangement for coffee tables, entry consoles, or bedroom furniture. Select books with similar dimensions and remove worn paper jackets if necessary to reveal clean covers. Wrap the stack in linen ribbon, natural twine, or cotton fabric strips before adding a small decorative object such as dried flowers, pinecones, or a ceramic accent on top. Coordinate colors with nearby furniture to create visual harmony throughout the room. If preferred, paint the book edges using neutral shades for a more cohesive appearance while preserving subtle page texture. This project requires very few materials yet offers significant decorative impact. Decorative book stacks work particularly well in modern design, farmhouse interiors, and organized shelving because they introduce height, texture, and layered decoration without cluttering the space.
Book Page Wall Art
How to Create
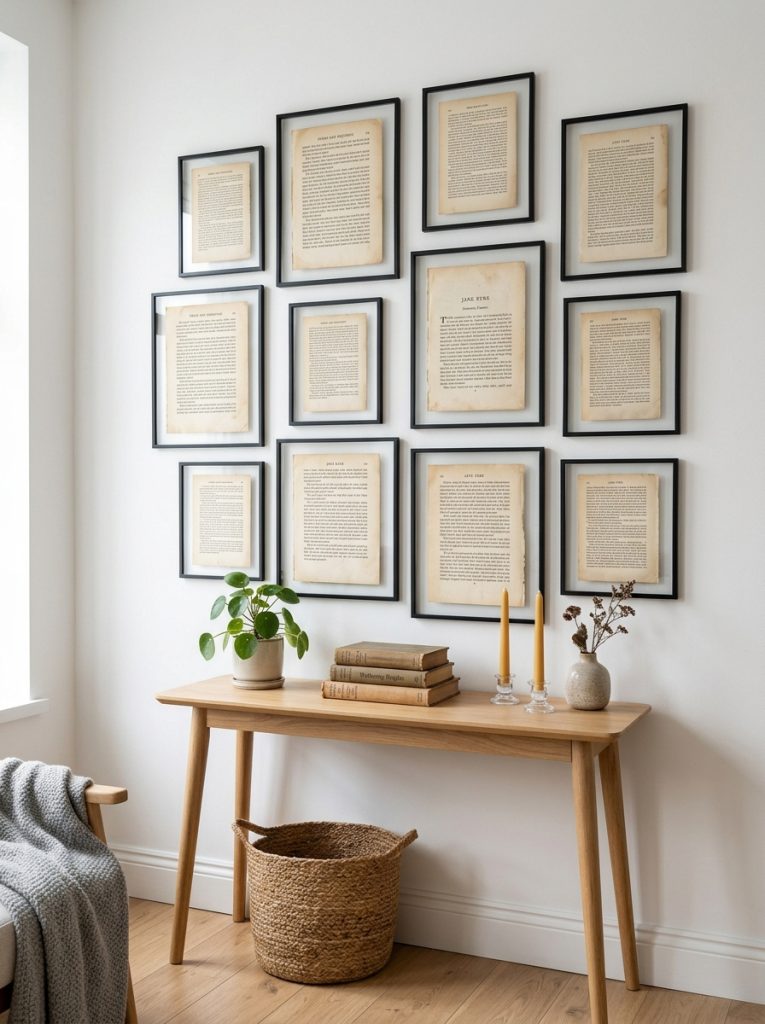
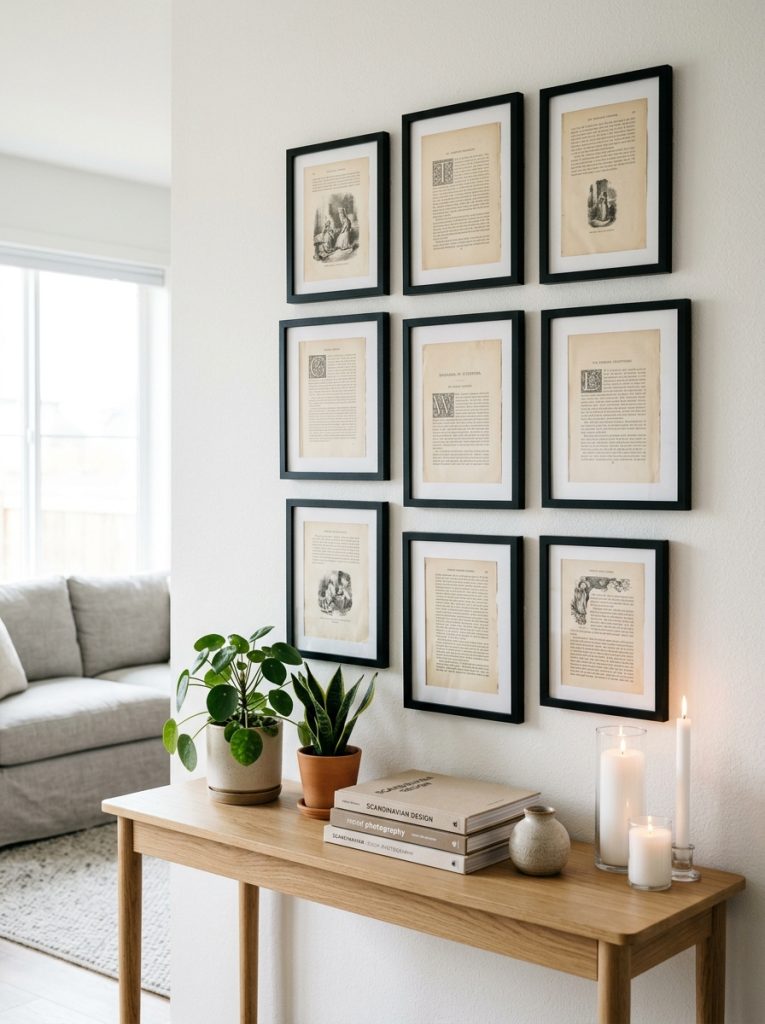
Book pages can become striking wall decoration when arranged into geometric or botanical compositions inside frames. Select pages with attractive typography or illustrations before trimming them neatly to fit the chosen frame size. Arrange several pages together to form symmetrical patterns, overlapping layers, or simple abstract compositions. Press everything flat before securing the arrangement with adhesive to prevent wrinkles. Use neutral frames for minimalist style interiors or reclaimed wooden frames for rustic decoration. Consider combining several smaller frames into a gallery wall that showcases different page layouts while maintaining a consistent color palette. This beginner-friendly tutorial allows significant creative freedom because layouts can be customized to match almost any room. Framed book page artwork creates inexpensive, personalized decoration that highlights the beauty of printed text and vintage paper.
Hanging Paper Butterfly Mobile
Step-by-Step Guide
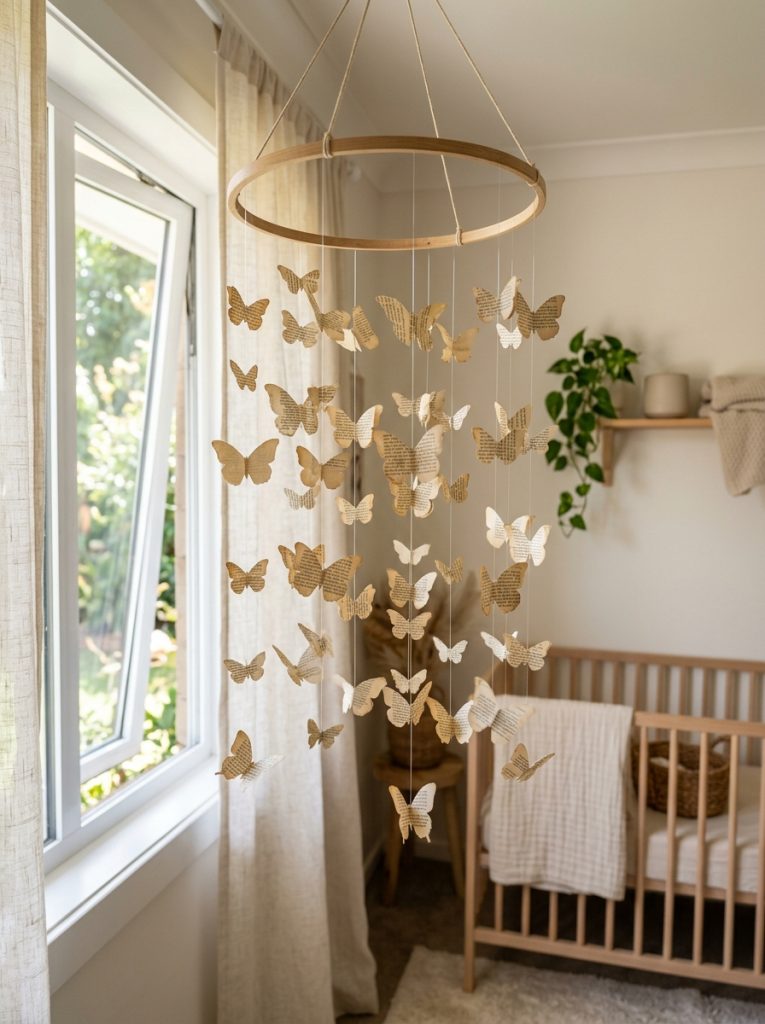
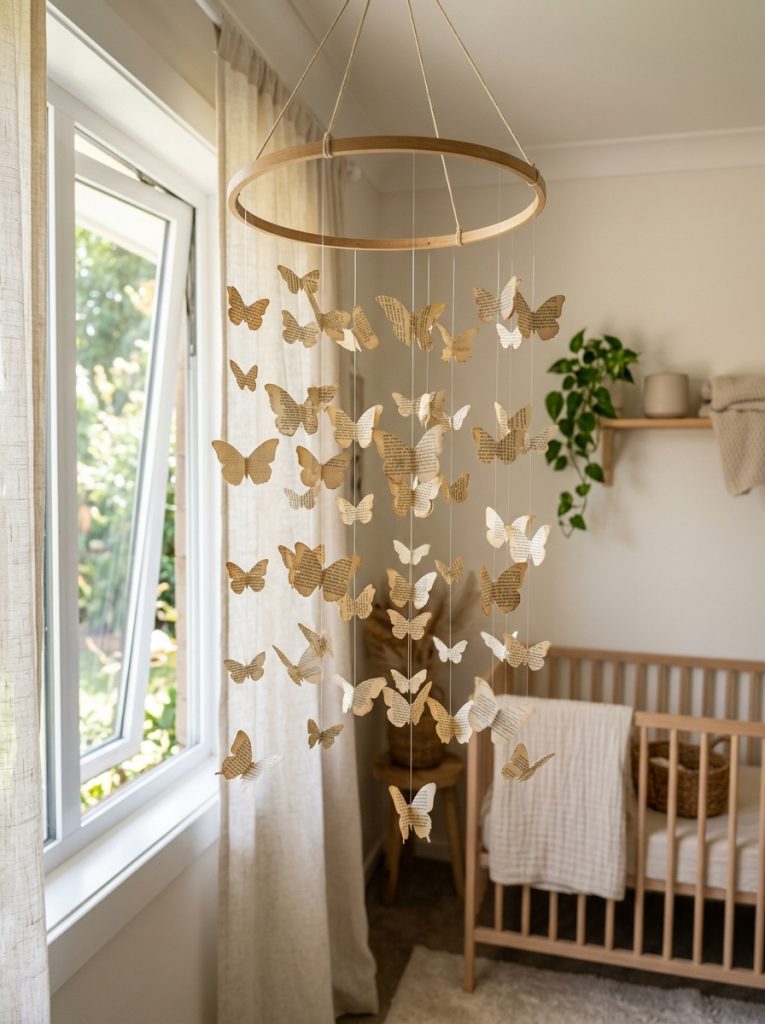
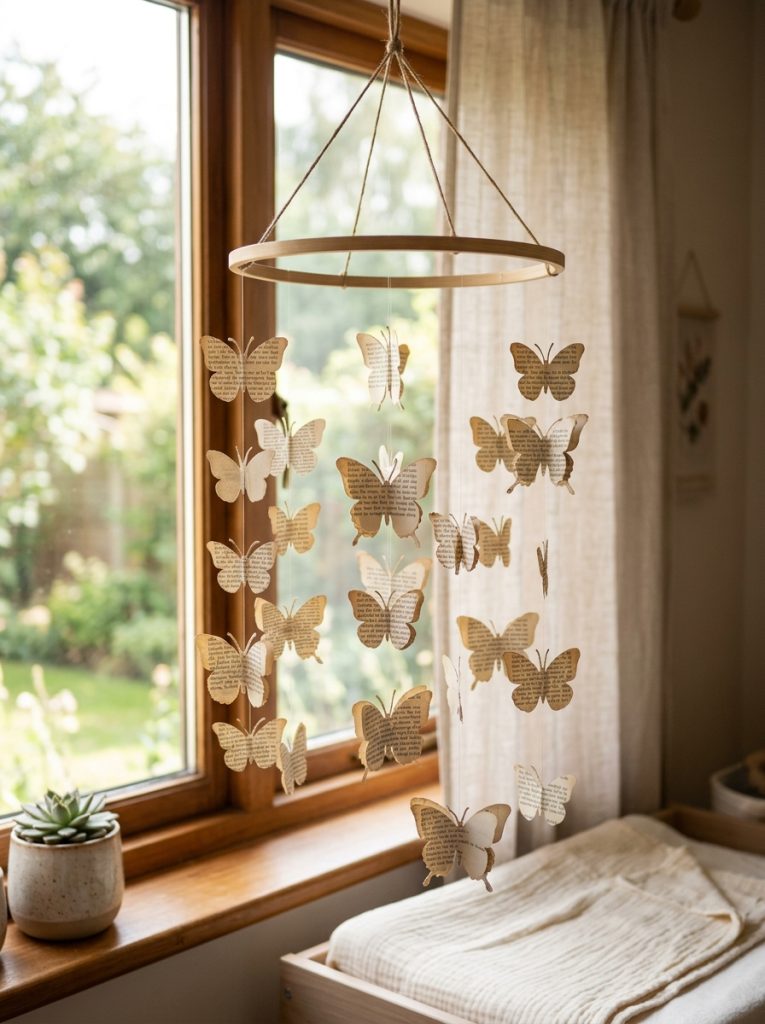
Design a lightweight decorative mobile by cutting butterfly shapes from book pages and suspending them with clear thread. Begin by tracing multiple butterfly templates in different sizes before carefully cutting each shape with sharp scissors. Fold the wings slightly upward to create realistic dimension and movement. Attach transparent thread to every butterfly using small dots of glue, then tie the threads to a wooden embroidery hoop or lightweight branch at varying lengths. Balance the arrangement evenly so the mobile hangs naturally. Place the finished decoration near a window where gentle airflow creates graceful movement. This creative project adds softness to bedrooms, reading spaces, nurseries, or craft studios. Combining different butterfly sizes and hanging heights creates depth while maintaining a clean, aesthetic appearance suitable for modern home decor.
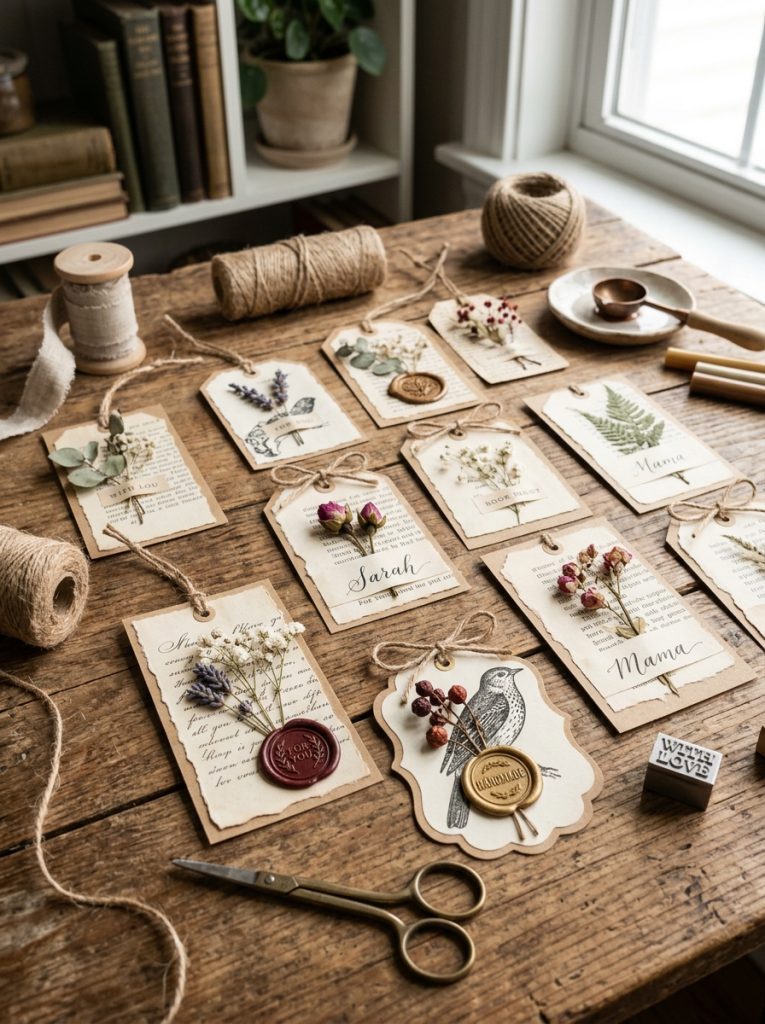
Book Page Gift Tags and Cards
How to Make
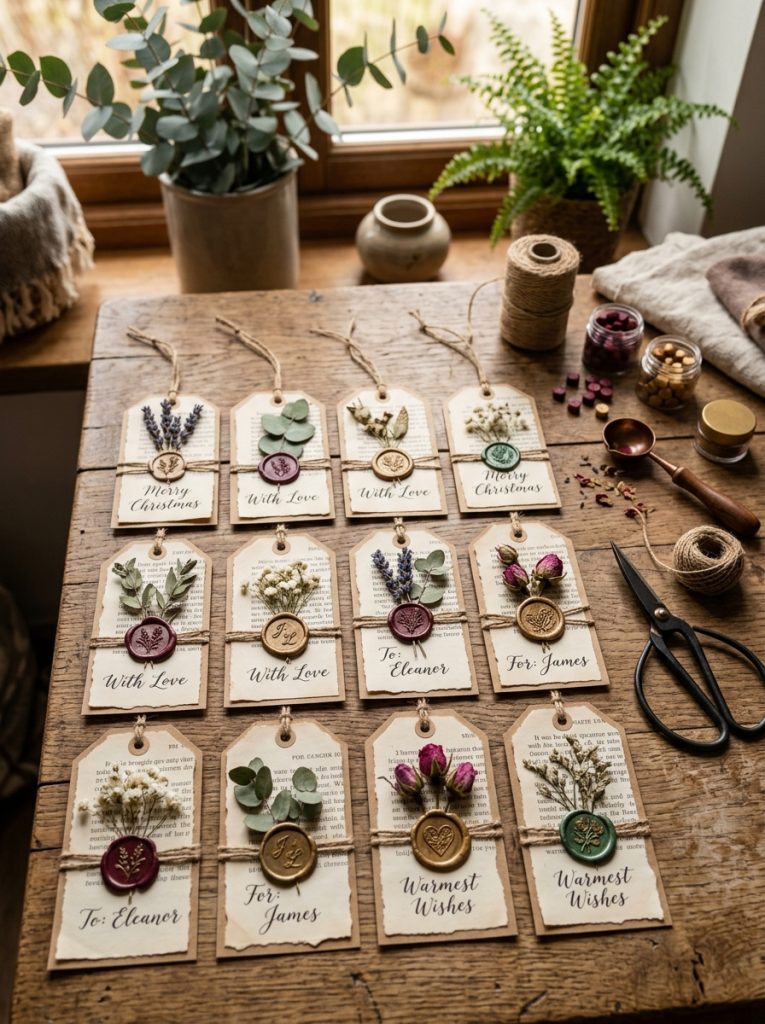
Create personalized gift tags and greeting cards using decorative sections from old book pages. Cut cardstock into your preferred card sizes before layering trimmed book page pieces onto the surface using glue. Add handwritten messages, stamped designs, pressed flowers, or simple ribbon accents while keeping the layout uncluttered. Punch holes through smaller pieces to produce reusable gift tags tied with natural twine. Coordinate typography and decorative elements with birthdays, holidays, weddings, or seasonal celebrations for a thoughtful handmade presentation. These projects use very little material, making them excellent budget ideas for beginners who want to practice paper crafting techniques. Handmade cards and tags also reduce waste while giving gifts a more personal appearance that reflects creativity and careful planning rather than mass-produced decoration.
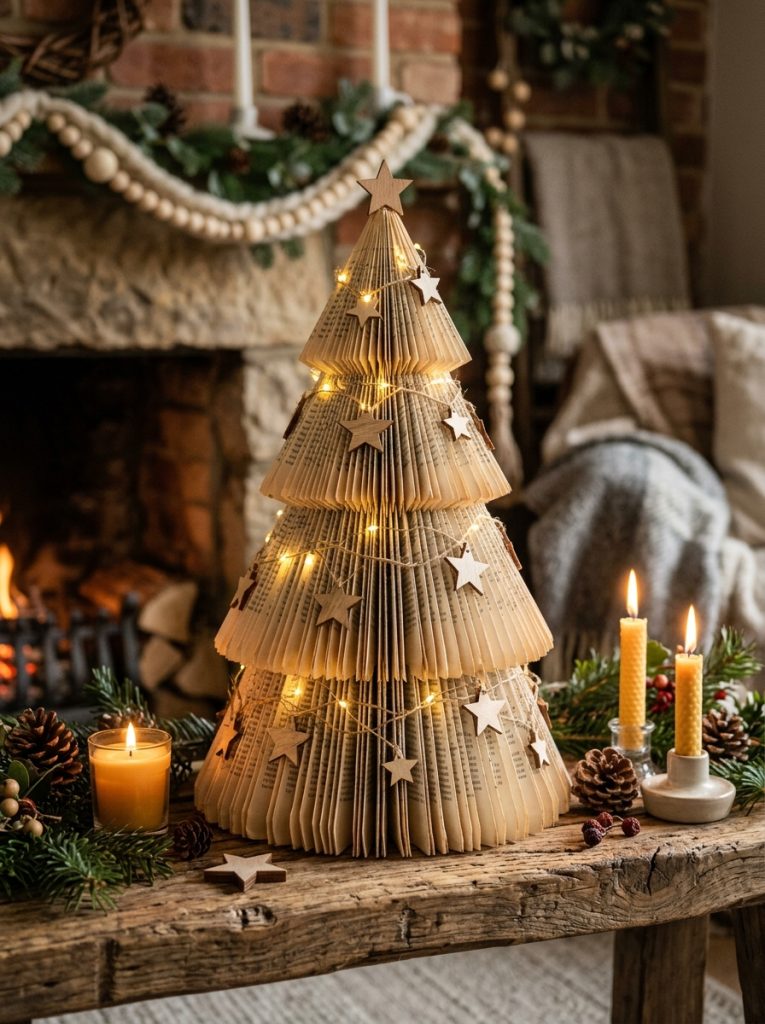
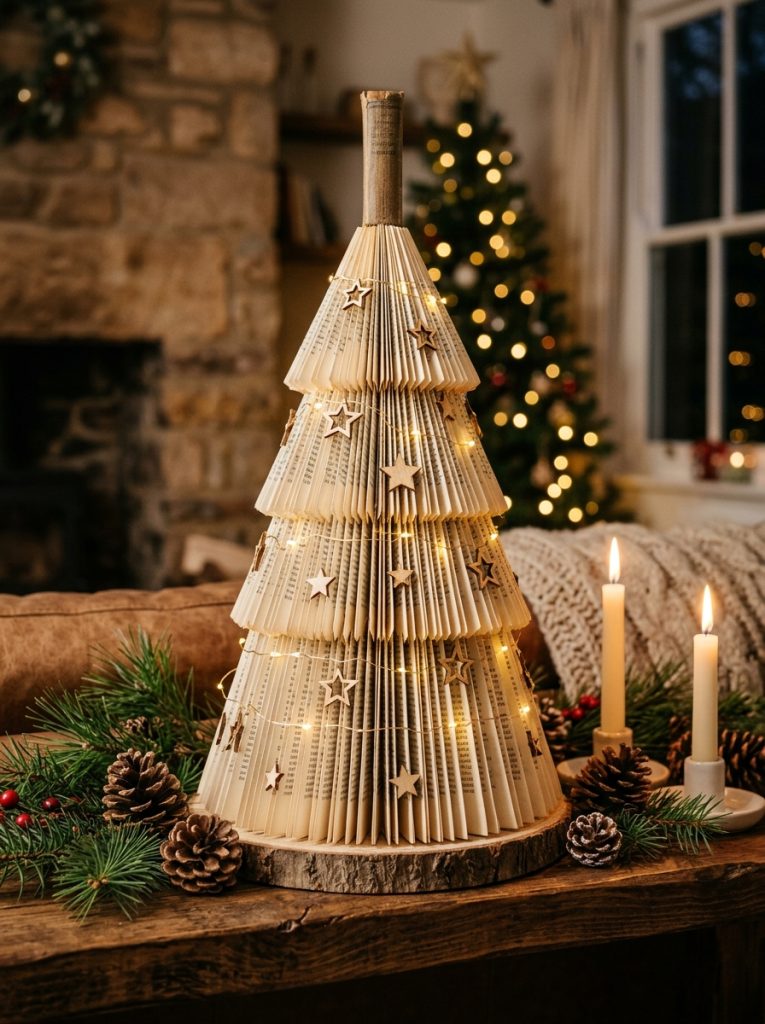
Folded Book Tree Decoration
Execution Process
A folded paper tree provides seasonal decoration without requiring additional cutting or painting. Open the book completely and fold every page toward the center so the book gradually forms a circular standing tree. Continue until all pages have been folded evenly, checking regularly that the structure remains balanced. Decorate lightly with twine, miniature paper stars, dried berries, or battery-operated fairy lights if appropriate for indoor display. Avoid heavy ornaments that could distort the paper shape. Place the finished tree on mantels, shelves, desks, or holiday centerpieces where its layered pages create attractive texture. Although commonly associated with winter decoration, this project also works year-round using natural decorative accents. Its simple folding method makes it one of the most accessible Pinterest ideas for beginners interested in sustainable paper crafts.
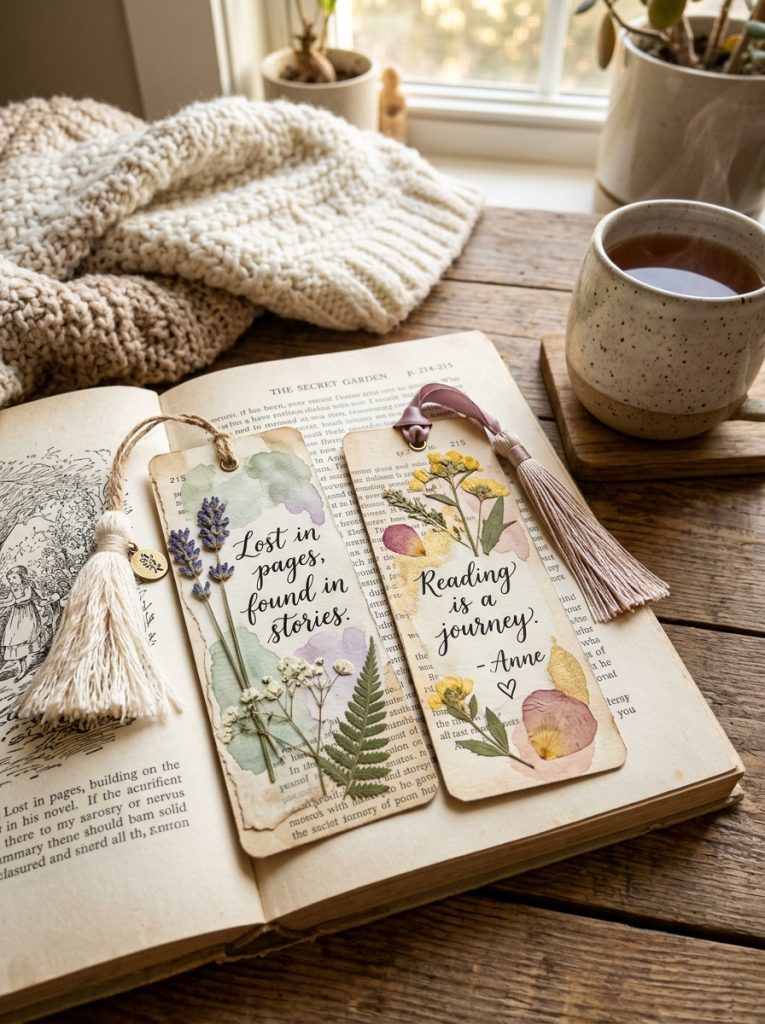
Personalized Book Page Bookmark Collection
How to Create
Bookmarks are practical handmade crafts that also provide an opportunity to experiment with decorative paper techniques. Cut long rectangular strips from attractive book pages before reinforcing each strip with recycled cardstock for additional durability. Laminate the finished bookmarks using clear adhesive sheets or transparent contact paper if frequent use is expected. Decorate each bookmark with tassels, pressed flowers, watercolor borders, handwritten quotations, or stitched fabric edges depending on the desired aesthetic. Create matching sets using similar themes for gifts, classroom activities, or personal reading collections. Store completed bookmarks inside decorative boxes or fabric pouches to keep them organized. This easy project requires minimal materials while encouraging precision, careful planning, and creative expression. Personalized bookmarks also serve as practical reminders of the beauty that can be created from recycled paper.
Common Beginner Mistakes and How to Avoid Them
Many beginners rush through preparation, resulting in uneven folds, crooked cuts, excess glue, or poorly balanced decorations. Taking accurate measurements before cutting helps prevent wasted materials and produces cleaner results. Another frequent mistake is selecting valuable or collectible books instead of damaged copies intended for recycling. Always verify that the chosen books are suitable for crafting before altering them. Applying excessive glue can wrinkle paper and weaken delicate details, so use adhesive sparingly and allow sufficient drying time between steps. Working without a cutting mat may damage tables and reduce cutting accuracy. Beginners also benefit from testing new folding or assembly techniques on spare pages before working on the final project. Careful planning, patience, and organized materials consistently improve both the appearance and durability of finished handmade decorations.
Practical Tips for Better Results
Maintain consistent measurements throughout every project because symmetry often creates a more polished appearance. Use sharp cutting tools rather than dull blades to achieve clean paper edges with less effort. Keep paper surfaces free from fingerprints by working with clean, dry hands and storing unfinished pieces in a protected area. Choose neutral decorative accents when combining book pages with other materials so printed text remains the primary visual feature. Photograph completed projects in natural daylight to evaluate balance, proportion, and overall presentation before displaying them. Organize leftover paper pieces by size since even small scraps can be reused for future creative ideas. Developing careful habits during preparation and assembly helps beginners complete projects more efficiently while producing attractive DIY decorations suitable for long-term display.
Styling and Presentation Ideas
Presentation plays an important role in making book crafts appear intentional rather than improvised. Display finished projects in small grouped arrangements instead of scattering individual pieces throughout a room. Combine paper decorations with natural materials such as wood, woven baskets, linen fabrics, ceramic containers, or dried botanical elements for visual balance. Keep surrounding decorations simple to avoid overwhelming delicate paper textures. Decorative book stacks work well beneath candles or small plants, while framed page artwork creates attractive gallery walls above desks or shelves. Seasonal accessories can be added without permanently changing the crafts, allowing displays to evolve throughout the year. Thoughtful organization ensures every handmade decoration contributes to the overall aesthetic while maintaining a clean, welcoming environment that reflects creativity and careful planning.
Budget and Time Planning
Book crafts are among the most affordable creative projects because many essential materials are already available at home. Planning several projects at once allows efficient use of leftover paper, glue, ribbon, and decorative elements while reducing unnecessary purchases. Beginners should begin with simple folding or stacking projects before progressing to detailed cutting techniques that require greater precision. Allocate sufficient drying time between construction stages instead of rushing to complete everything in one session. Organize materials into reusable containers so future tutorials become easier to follow and setup requires less preparation. Establishing a realistic schedule also improves project quality by encouraging careful workmanship. Even with a limited budget, thoughtful planning and recycled materials make it possible to create attractive home decor suitable for many different rooms and decorating styles.
Creative Expansion and Advanced Inspiration
After mastering basic techniques, explore more advanced combinations by incorporating layered paper sculpture, mixed-media backgrounds, decorative lettering, or dimensional shadow boxes. Experiment with monochromatic color palettes for minimalist style interiors or combine aged paper with reclaimed wood to create vintage-inspired decoration. Multiple small projects can also be combined into coordinated collections for shelves, reading corners, craft studios, or seasonal displays. Consider organizing projects according to themes such as botanical illustrations, classic literature, travel, or architecture to create stronger visual consistency. Recording measurements and successful techniques in a notebook makes future creative projects easier to repeat and refine. Continued experimentation builds confidence while expanding your collection of Pinterest ideas that balance handmade craftsmanship, organization, sustainable materials, and thoughtful interior decoration.