10 DIY Classroom Decoration Ideas
A well-decorated classroom creates an inviting environment that supports learning, creativity, and organization throughout the school year. DIY classroom decorations offer an affordable way to personalize educational spaces while encouraging thoughtful planning and efficient use of materials. Whether decorating an elementary classroom, preschool, homeschool area, or learning corner, handmade projects can improve visual appeal without requiring expensive supplies. This Pinterest-style guide presents ten beginner-friendly DIY classroom decoration ideas that combine practical function with creative design. Each project includes clear instructions, realistic setup methods, and styling suggestions that help create an organized and welcoming learning environment. You will also learn how to prepare materials, avoid common crafting mistakes, manage your decorating budget, and arrange finished decorations effectively. Every idea focuses on simple techniques that are easy to complete while supporting both classroom organization and attractive educational displays.
Why DIY Classroom Decorations Are Trending
DIY classroom decorations remain among the most popular Pinterest ideas because they allow teachers, parents, and homeschool educators to customize learning spaces according to their students’ needs. Handmade decorations are practical, budget friendly, and adaptable for different age groups, classroom themes, and seasonal activities. Many projects use recycled materials, making them both affordable and environmentally responsible. Decorative learning tools such as charts, labels, and bulletin boards also improve classroom organization while making educational content easier to access. Beginners appreciate that most classroom tutorials require only basic cutting, gluing, painting, or laminating techniques instead of specialized crafting skills. Their flexibility allows educators to refresh classroom displays throughout the year without replacing expensive decorations. This combination of creativity, educational value, and easy project planning explains why classroom DIY inspiration continues to grow across Pinterest.
Materials and Preparation
Preparing all materials before starting ensures that classroom decoration projects are completed efficiently and neatly. Gather colored cardstock, construction paper, poster board, scissors, craft knife, ruler, glue stick, hot glue gun, double-sided tape, markers, printable letters, laminating sheets if available, twine, clothespins, reusable adhesive hooks, paint, paintbrushes, recycled cardboard, and storage containers for organizing supplies. Measure bulletin boards, windows, shelves, and wall spaces before creating decorations to ensure accurate sizing. Decide on a classroom color palette and theme so every decoration works together visually. Organize materials into labeled containers to make each project easier to complete. A clean workspace, careful measurements, and thoughtful planning improve the overall appearance of handmade classroom decorations while reducing wasted materials.
Rainbow Welcome Door Display
How to Create
Design a colorful classroom entrance using layered paper arches that create a welcoming rainbow display. Begin by cutting large arches from colored cardstock in coordinated shades before arranging them from largest to smallest. Mount the rainbow above the classroom door or around the entrance using removable adhesive strips. Add large handwritten or printed welcome letters across the center while decorating the surrounding space with paper clouds, stars, or smiling suns. Reinforce larger paper pieces with recycled cardboard to prevent curling over time. This beginner-friendly project creates an inviting first impression while introducing bright colors that encourage a positive learning atmosphere. Matching border designs around the doorway complete the display without overwhelming the space. The finished decoration works throughout the school year and can easily be updated by replacing small decorative elements to match seasonal classroom themes.

Inspirational Bulletin Board
Step-by-Step Guide
Transform an ordinary bulletin board into a motivational classroom centerpiece by combining colorful backgrounds, educational quotes, and student-friendly graphics. Cover the board with neutral paper before adding contrasting borders for a clean appearance. Arrange inspirational messages using large cut-out letters that remain easy to read from across the room. Leave open sections where student work or weekly achievements can be displayed throughout the year. Decorate the corners with simple paper leaves, pencils, books, or geometric shapes to frame the content without creating visual clutter. Laminating frequently used pieces improves durability while making seasonal updates easier. This DIY project combines decoration with practical classroom organization and provides an attractive location for celebrating student progress. Balanced spacing between decorative elements keeps the board organized while maintaining a modern design.
Hanging Paper Pencil Garland
How to Make
Create a cheerful classroom garland using oversized paper pencils suspended across windows, bulletin boards, or whiteboards. Trace identical pencil templates onto colored cardstock before cutting yellow, pink, black, and beige sections separately. Assemble each pencil using glue and reinforce larger pieces with lightweight cardboard. Punch small holes near the top of every pencil and thread them onto twine with equal spacing to create a balanced garland. Hang the finished decoration using removable hooks to avoid wall damage. This easy project introduces colorful classroom decoration while requiring only simple cutting and assembly techniques. Mixing different pencil sizes adds visual interest without making the display appear crowded. The finished garland complements reading corners, writing centers, and classroom entrances while encouraging a creative learning environment.
Classroom Reading Corner Sign
Setup Method
Design a decorative sign that clearly defines the classroom reading area while creating a cozy atmosphere. Begin by cutting a sturdy backing board from recycled cardboard or foam board before covering it with decorative paper or painted cardstock. Add large letters spelling the reading corner title using contrasting colors for improved visibility. Surround the lettering with paper books, stars, leaves, or speech bubbles that match the classroom theme. Attach the sign securely above bookshelves or reading cushions using removable wall hooks. Soft color combinations create a calm learning space, while brighter shades suit younger classrooms. This beginner-friendly project provides practical organization by identifying a dedicated reading area while enhancing overall classroom decoration with handmade creativity.
DIY Classroom Calendar Wall
Execution Process
Create an interactive classroom calendar display that combines daily learning with organized decoration. Start by mounting a large calendar grid onto poster board or directly onto a bulletin board. Laminate reusable number cards and month labels so they can be updated throughout the year. Include sections for weather, seasons, special events, birthdays, and classroom goals using coordinated colors and simple icons. Keep spacing even to ensure information remains easy to read. Decorative borders and matching labels tie the entire display together while maintaining a clean appearance. This creative project supports classroom organization and daily routines while functioning as an attractive educational feature. Careful planning allows the calendar to remain useful throughout the school year with minimal maintenance.
Paper Hot Air Balloon Ceiling Display
How to Create
Add vertical decoration by hanging colorful paper hot air balloons from the classroom ceiling. Cut balloon shapes from patterned cardstock and attach small woven paper baskets beneath them using string or yarn. Suspend the finished balloons at different heights with clear fishing line to create depth and movement throughout the room. Ensure adequate spacing so each balloon remains visible without interfering with classroom lighting or movement. Soft pastel colors create a calming atmosphere, while bright combinations add playful energy for younger students. This DIY tutorial introduces three-dimensional classroom decoration using inexpensive materials while making ceiling space visually engaging. The floating arrangement encourages creativity without taking up valuable wall space needed for educational displays.
Classroom Supply Organization Station
Step-by-Step Guide
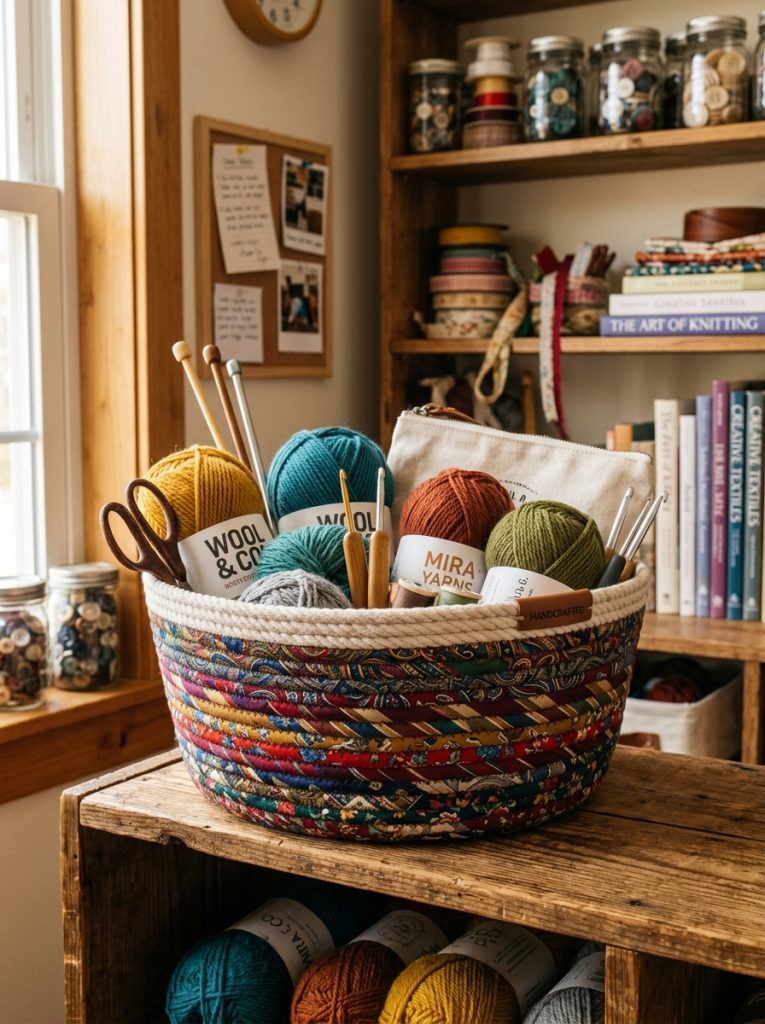
Organize frequently used classroom materials while improving visual appeal with a handmade supply station. Decorate recycled containers, small boxes, or jars using matching paper, labels, and borders that coordinate with the classroom theme. Clearly label each container for pencils, markers, scissors, glue sticks, rulers, and craft materials using large readable lettering. Arrange containers on shelves or carts according to frequency of use, placing everyday supplies within easy reach. Decorative divider signs improve organization while helping students return materials to the correct location independently. This practical DIY project combines attractive presentation with efficient classroom management. Coordinated colors and consistent labeling create a neat appearance while supporting daily classroom routines.
Student Name Display Wall
How to Make
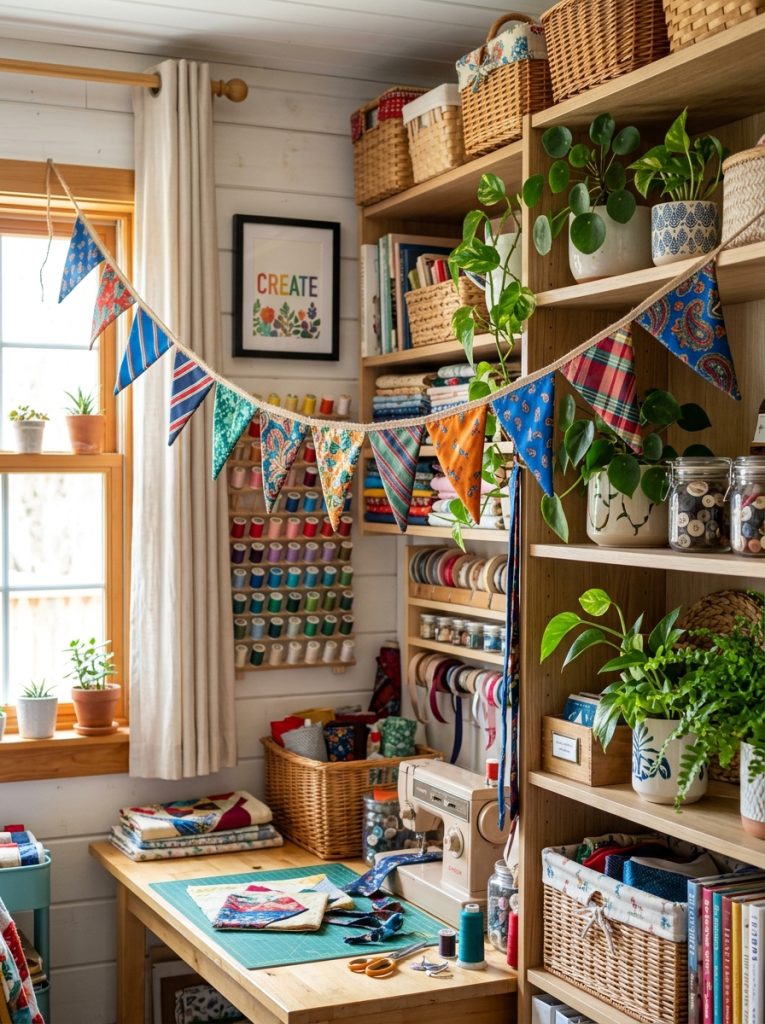
Celebrate every student by creating a decorative name display that introduces personalization into the classroom. Cut identical shapes such as stars, apples, pencils, or speech bubbles from colorful cardstock before writing each student’s name in bold lettering. Arrange the shapes in neat rows or circular patterns to create a balanced display. Add decorative borders around the entire arrangement while leaving space for new students if necessary. Laminating the name cards increases durability and allows them to be reused throughout the school year. This beginner-friendly project helps students feel welcomed while also assisting teachers and classmates in learning names quickly. A coordinated layout creates a polished appearance that complements other classroom decorations.
Educational Wall Chart Gallery
Execution Process
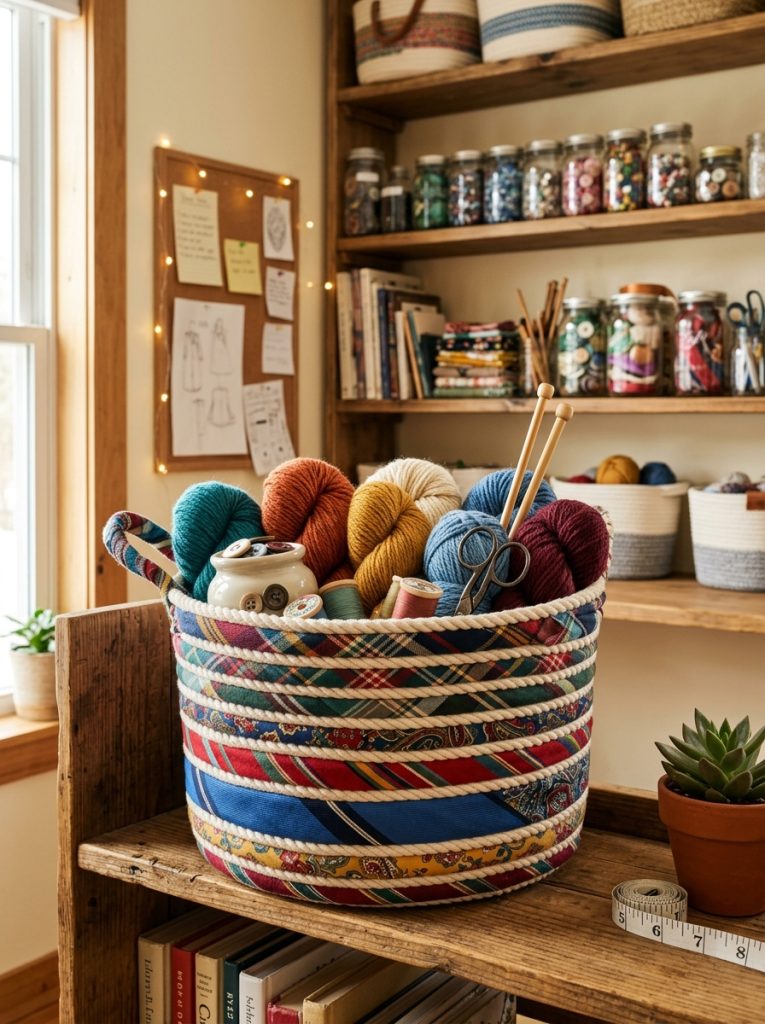
Design a gallery wall featuring handmade educational charts that combine decoration with practical learning tools. Create charts covering topics such as numbers, letters, shapes, colors, grammar, multiplication, or science concepts using consistent colors and layouts. Mount each chart inside matching paper frames or bordered panels to unify the display. Arrange them evenly across one classroom wall while leaving adequate spacing for readability. Updating selected charts throughout the year keeps the learning environment fresh without replacing the entire display. This DIY classroom project supports daily instruction while contributing to an organized and visually appealing space. Consistent typography and coordinated colors help students locate information quickly during lessons.

Seasonal Classroom Window Decorations
How to Create
Decorate classroom windows with removable seasonal paper displays that bring color and variety throughout the year. Design themes based on autumn leaves, winter snowflakes, spring flowers, or summer sunshine using lightweight colored paper and removable adhesive. Arrange the decorations so natural light continues entering the classroom while creating attractive silhouettes from both inside and outside. Layer different sizes and heights to add depth without overcrowding the glass. Store reusable pieces in labeled envelopes between seasons to simplify future decorating. This creative project refreshes the classroom regularly while encouraging thoughtful planning and efficient material organization. Seasonal updates maintain student interest while preserving a cohesive classroom design.
Common Beginner Mistakes and How to Avoid Them
Many classroom decorating mistakes result from poor planning rather than difficult crafting techniques. Measuring display areas before cutting decorations prevents sizing errors and unnecessary material waste. Another common issue is using too many colors or decorative elements, making classroom walls appear cluttered instead of organized. Limiting each display to a consistent color palette improves readability and visual balance. Beginners should also avoid placing decorations too high or too low, ensuring students can comfortably view educational content. Laminating frequently handled items extends their lifespan while reducing maintenance. Organizing materials before beginning each project improves efficiency and helps maintain a cleaner workspace. Careful planning, accurate measurements, and simple designs consistently produce more attractive classroom decorations.
Practical Tips for Better Results
Use reusable materials whenever possible so classroom decorations can be updated rather than completely replaced. Keep templates for letters, shapes, and borders organized in labeled folders for future projects. Choose larger fonts for educational displays to improve visibility from every part of the classroom. Attach decorations with removable adhesive to simplify seasonal changes without damaging walls. Coordinate colors across bulletin boards, labels, and storage containers to create a unified appearance. Photograph completed displays before removing them so successful layouts can be recreated later. Regularly inspect hanging decorations to ensure they remain secure and tidy throughout the school year. These simple habits improve both classroom organization and the overall quality of handmade decorations.
Styling, Presentation, and Organization Ideas
A cohesive classroom design creates a calm and welcoming learning environment. Group related decorations together instead of spreading similar items across multiple walls. Use matching borders, fonts, and color palettes throughout bulletin boards, labels, and signs to establish visual consistency. Keep educational materials at student eye level while placing decorative accents higher to maximize available space. Reading corners benefit from softer colors and comfortable textures, while activity areas can feature brighter displays that encourage participation. Organized storage stations should remain clearly labeled and easily accessible to support classroom routines. Thoughtful presentation allows every handmade decoration to contribute to both learning and classroom aesthetics without creating unnecessary distractions.
Budget and Time Planning
DIY classroom decoration projects can be completed gradually without requiring a large budget. Prioritize essential displays such as welcome signs, calendars, organization stations, and bulletin boards before adding decorative accents. Purchasing basic materials in bulk often reduces overall costs while ensuring consistent colors across multiple projects. Reserve one or two preparation days before the school year begins for measuring, cutting, laminating, and organizing decorations. Store reusable seasonal decorations in labeled containers to eliminate unnecessary rebuilding each year. Careful planning saves both time and materials while producing durable classroom displays that remain useful throughout multiple school terms. Even simple recycled supplies can create professional-looking results when used thoughtfully.
Creative Expansion and Advanced Inspiration
Once the foundational classroom decorations are complete, expand the design by introducing interactive learning displays, rotating student artwork galleries, themed classroom corners, and collaborative bulletin boards. Combine handmade paper decorations with fabric backgrounds, wooden signs, or reusable magnetic displays to create additional texture and visual interest. Seasonal themes can be incorporated without replacing the core classroom design, allowing the learning environment to evolve naturally throughout the year. Record measurements and save digital templates so future projects can be recreated quickly with minimal effort. Continuous experimentation encourages fresh Pinterest ideas while strengthening classroom organization, supporting creative projects, and maintaining a welcoming educational space that inspires learning every day.